
The Budget-Friendly DIY Fridge Makeover
Enhancing Your Kitchen’s Aesthetic with Refrigerator Handle Makeovers
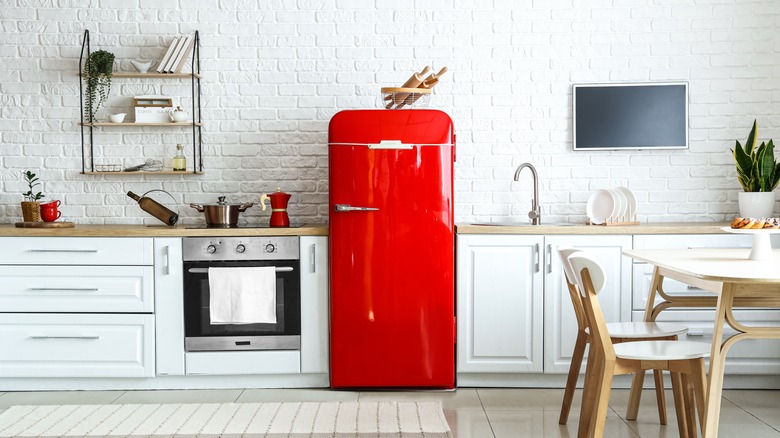
The overall theme of your kitchen plays a significant role in creating a cohesive and inviting space. Whether you're going for a coastal vibe that brings the beach indoors or adding retro elements for a mid-century look, every detail matters. However, one often overlooked part of the kitchen is the refrigerator. While it's essential to keep your fridge clean and well-maintained, the exterior can also be a canvas for creativity without breaking the bank.
Revamping your refrigerator's handles is an easy and effective way to elevate the look of your kitchen. Handles can become dull, stained, or scratched over time, making them an ideal candidate for a quick makeover. If they no longer match your kitchen's color scheme or feel outdated, spray painting them could be the perfect solution.
Affordable and Creative Options for Refrigerator Handles
Spray paint offers a simple, budget-friendly way to transform your refrigerator's appearance. You can choose from metallic, matte, or even custom colors to match your kitchen's style. Most refrigerator handles are made from materials like rubberized metal, plastic, or similar substances, which are safe for spray painting. Using high-quality spray paint ensures better coverage and longevity. Brands like Rustoleum are popular choices, with cans typically costing around $6 or more depending on the finish.
Before you begin, it's important to prepare properly. Covering the exterior of the fridge with paper will help prevent accidental overspray. Start by applying a primer specific to the material of your handles. This step ensures a smoother and more professional finish. After the primer dries, apply at least two coats of spray paint, allowing each coat to dry for 20 to 30 minutes between applications. Always check the instructions on the can for precise drying times.
Preparing the Handles for Painting
If your refrigerator handles are detachable, follow the manufacturer's guidelines when removing and reattaching them. Regardless of whether they are removable or not, cleaning them thoroughly with a degreaser is crucial. Removing any grime or residue ensures the paint adheres properly and lasts longer.
Painting the handles outside is the safest option, as it minimizes exposure to fumes. If you must paint indoors, make sure to open windows, use extraction fans, and wear a face mask and gloves to protect yourself from harmful chemicals. It's also wise to leave the handles untouched while the paint dries to avoid smudging. Drying time can vary from 30 minutes to three hours, so patience is key.
Final Touches and Enjoyment
Once the paint has dried, your refrigerator handles will look fresh and updated, blending seamlessly with your kitchen's design. This small change can make a big difference, adding personality and style to your space. Plus, it's a cost-effective way to refresh your kitchen without the need for major renovations.
By taking the time to repaint your refrigerator handles, you not only enhance the visual appeal of your kitchen but also enjoy a sense of accomplishment. It's a simple project that can bring new life to an otherwise overlooked appliance, proving that even the smallest details can have a significant impact.
Posting Komentar untuk "The Budget-Friendly DIY Fridge Makeover"
Posting Komentar