
8 Hidden Ways the Windows 11 Snipping Tool Goes Beyond Screenshots
Enhance Your Windows 11 Experience with the Snipping Tool
The Snipping Tool in Windows 11 is more than just a basic screenshot utility. It offers a range of advanced features that can significantly enhance your productivity and creativity. From video editing to text extraction, this tool provides a variety of functions that go beyond simple screen captures. Here are eight ways you can use the Snipping Tool to its fullest potential.
Edit Your Video
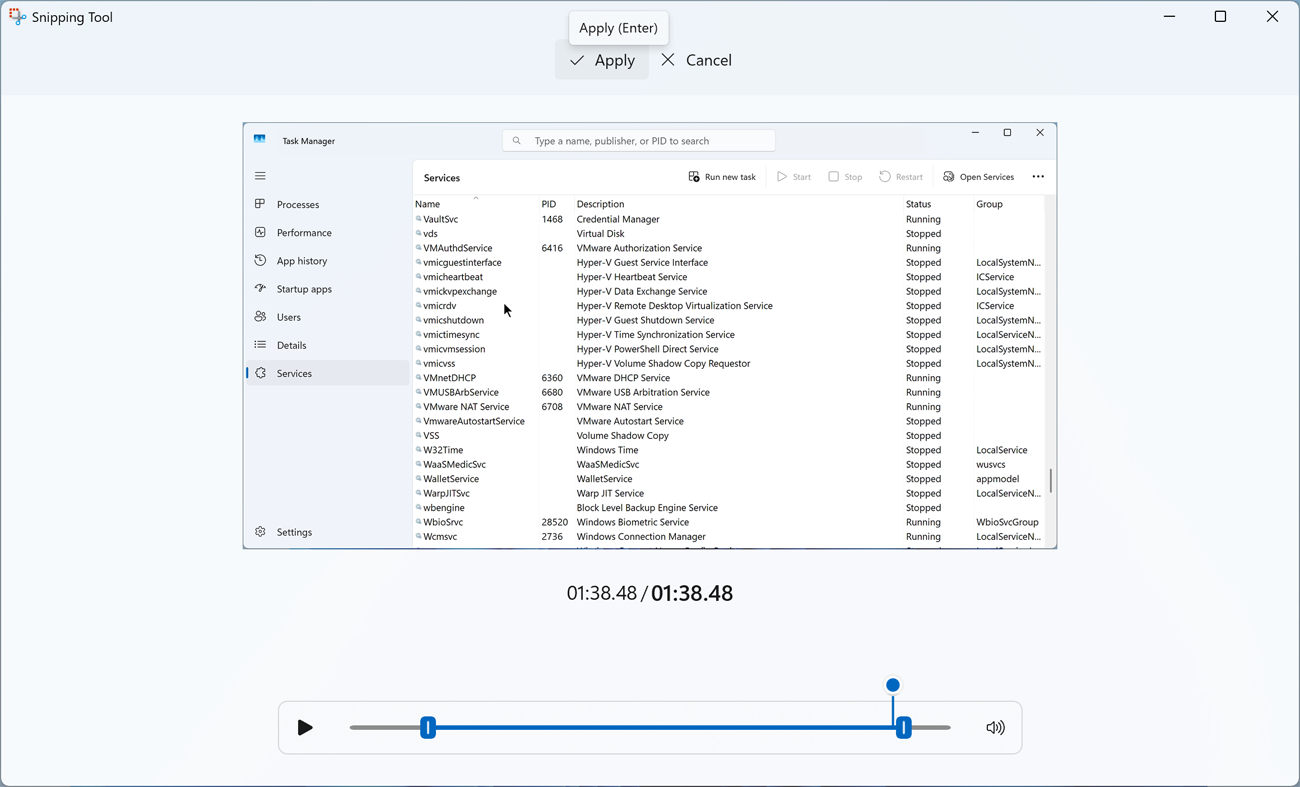
After recording your screen activity, the Snipping Tool allows you to edit the footage directly within the application. The recorded video appears in a window where you can watch, save, copy, or share it. To trim the video, click the Trim button to access the timeline. Adjust the markers to cut out unwanted sections at the beginning or end of the clip. Once you're satisfied with the changes, click Apply to save them.
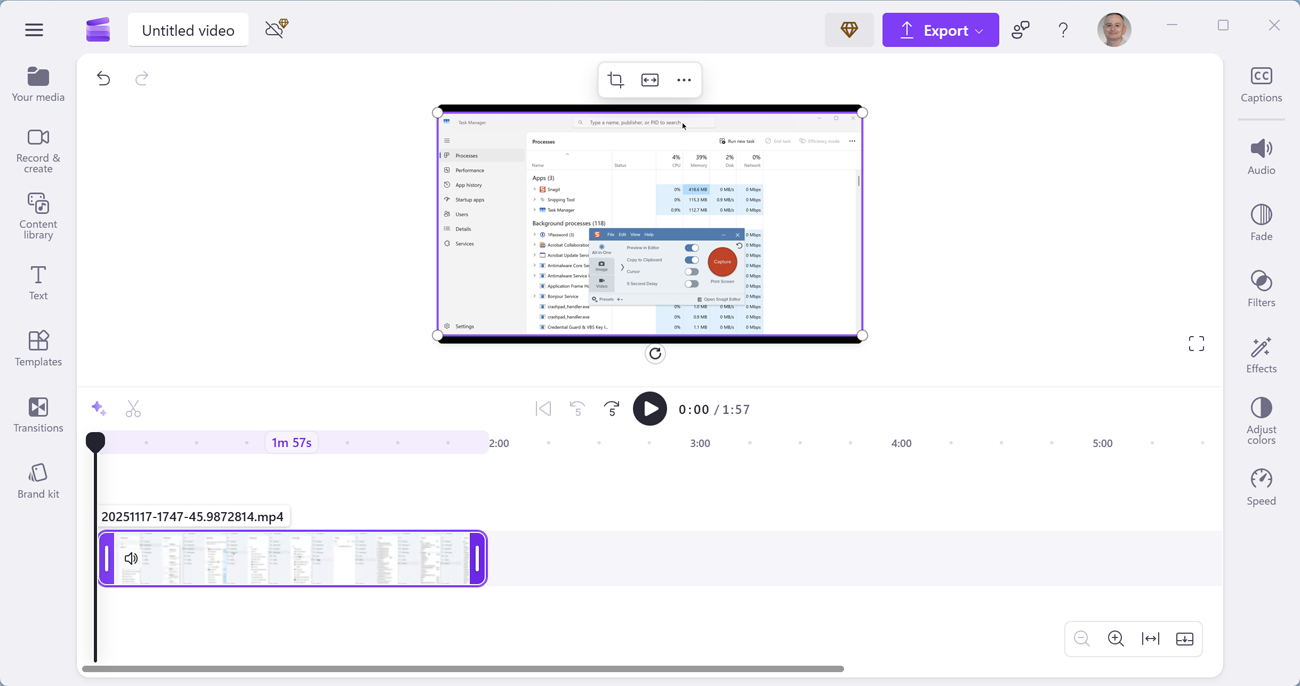
For more advanced editing, click Edit in Clipchamp, which opens Microsoft's professional video editing software. In Clipchamp, you can trim, clip, and splice your videos. You can add filters, styles, integrate audio tracks, and apply special templates. Additionally, you can export your video as an MP4 file with a resolution up to 1080p.
Save Your Video as an Animated GIF
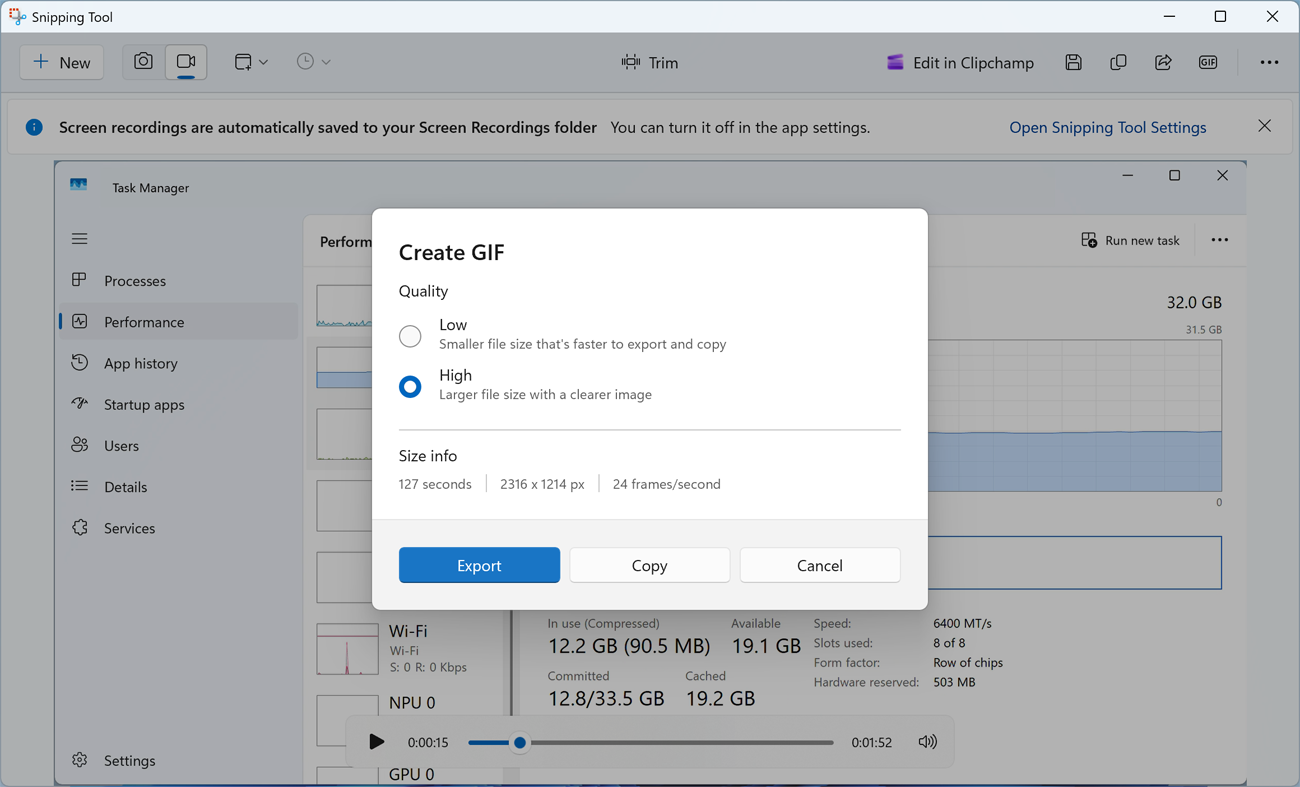
Creating an animated GIF from your video is a quick way to share dynamic content on social media or messaging platforms. At the video player window, click Create GIF to convert the first 30 seconds of your video into an animated format. Choose between a lower-quality, smaller file or a higher-quality, larger file. Click Export to save it to your Videos folder or another location. You can then view the GIF in the Photos app to check its appearance.
Set a Timer for a Screenshot
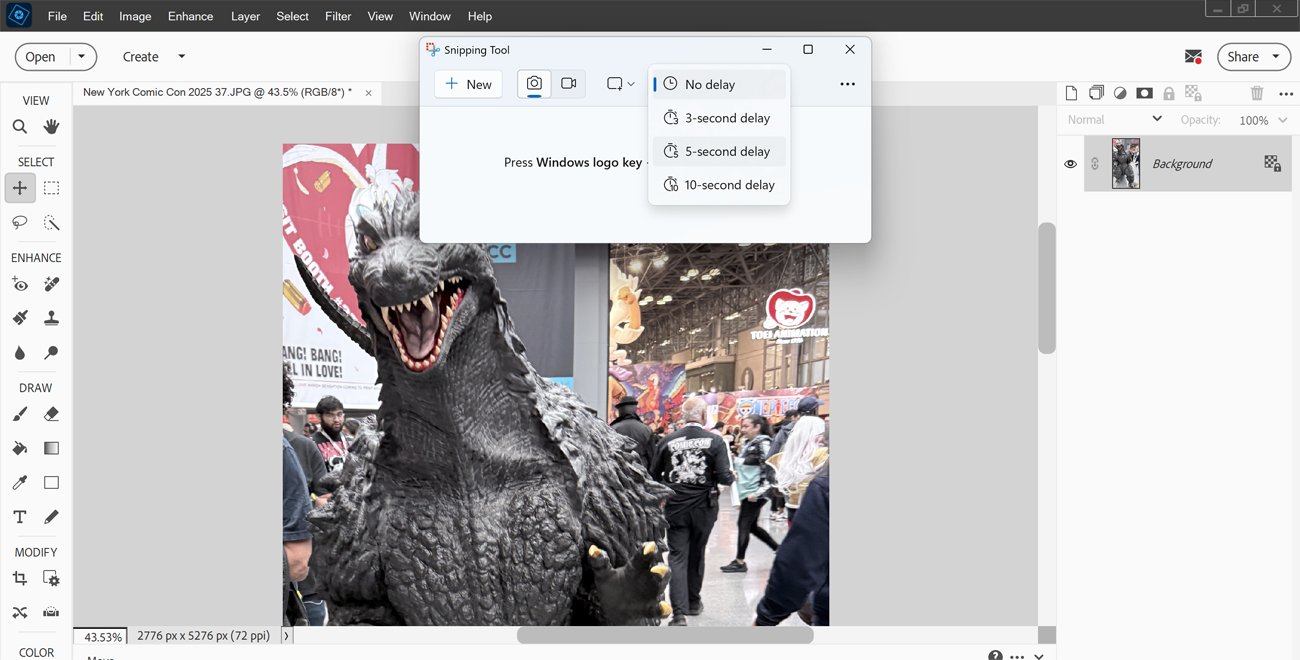
If you need a moment to set up your screen before taking a screenshot, the Snipping Tool allows you to set a timer. Click the Delay snip icon on the toolbar and choose a delay time—three, five, or ten seconds. After selecting the delay, click the camera icon and choose New. On the mini toolbar, click Snipping area and select the area you want to capture: rectangle, window, full screen, or freeform. The tool will wait the specified time before capturing the screen.
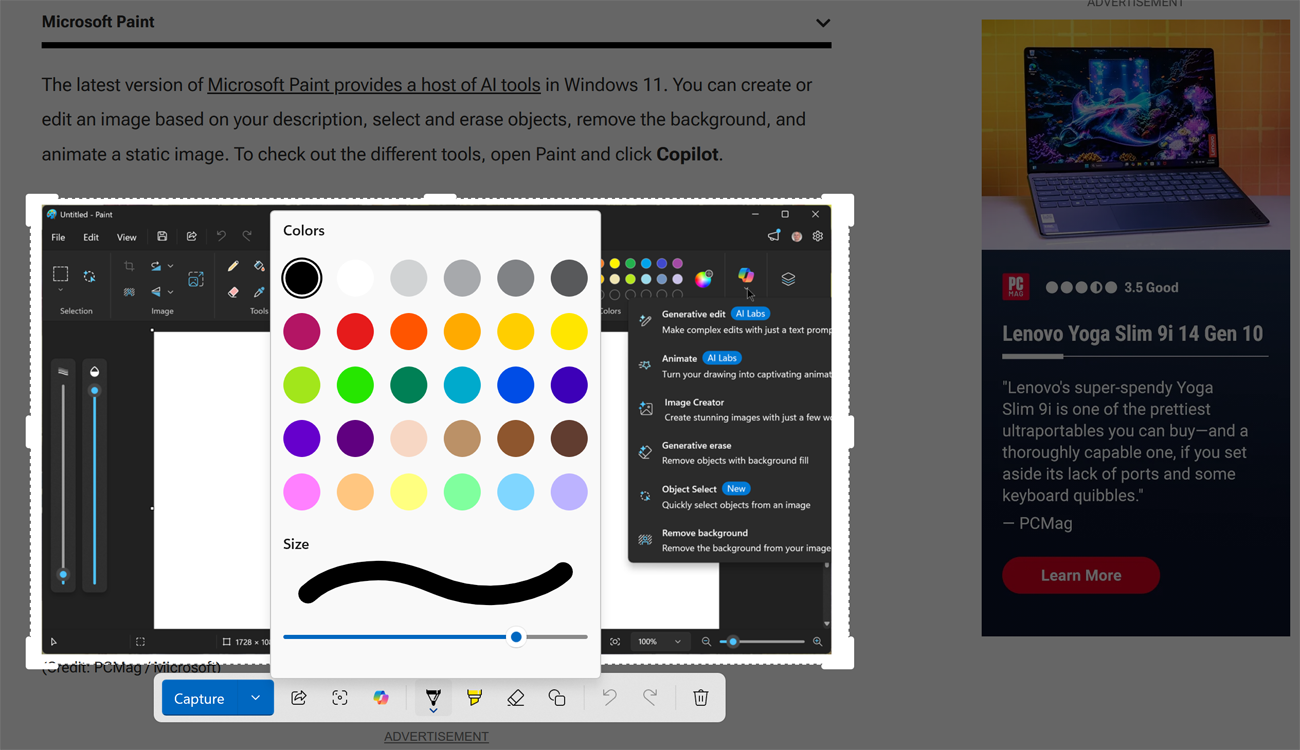
Mark Up and Edit an Image
The Snipping Tool enables you to mark up images with various shapes, objects, and colors. Click the camera icon, select New, and then click Quick markup on the mini toolbar. Select the area you want to capture, and adjust the crop by dragging the handles on the edges and corners. Use the bottom toolbar to access markup tools such as the Ballpoint pen for drawing lines, the Highlighter for highlighting areas, and the Eraser for removing unwanted marks.
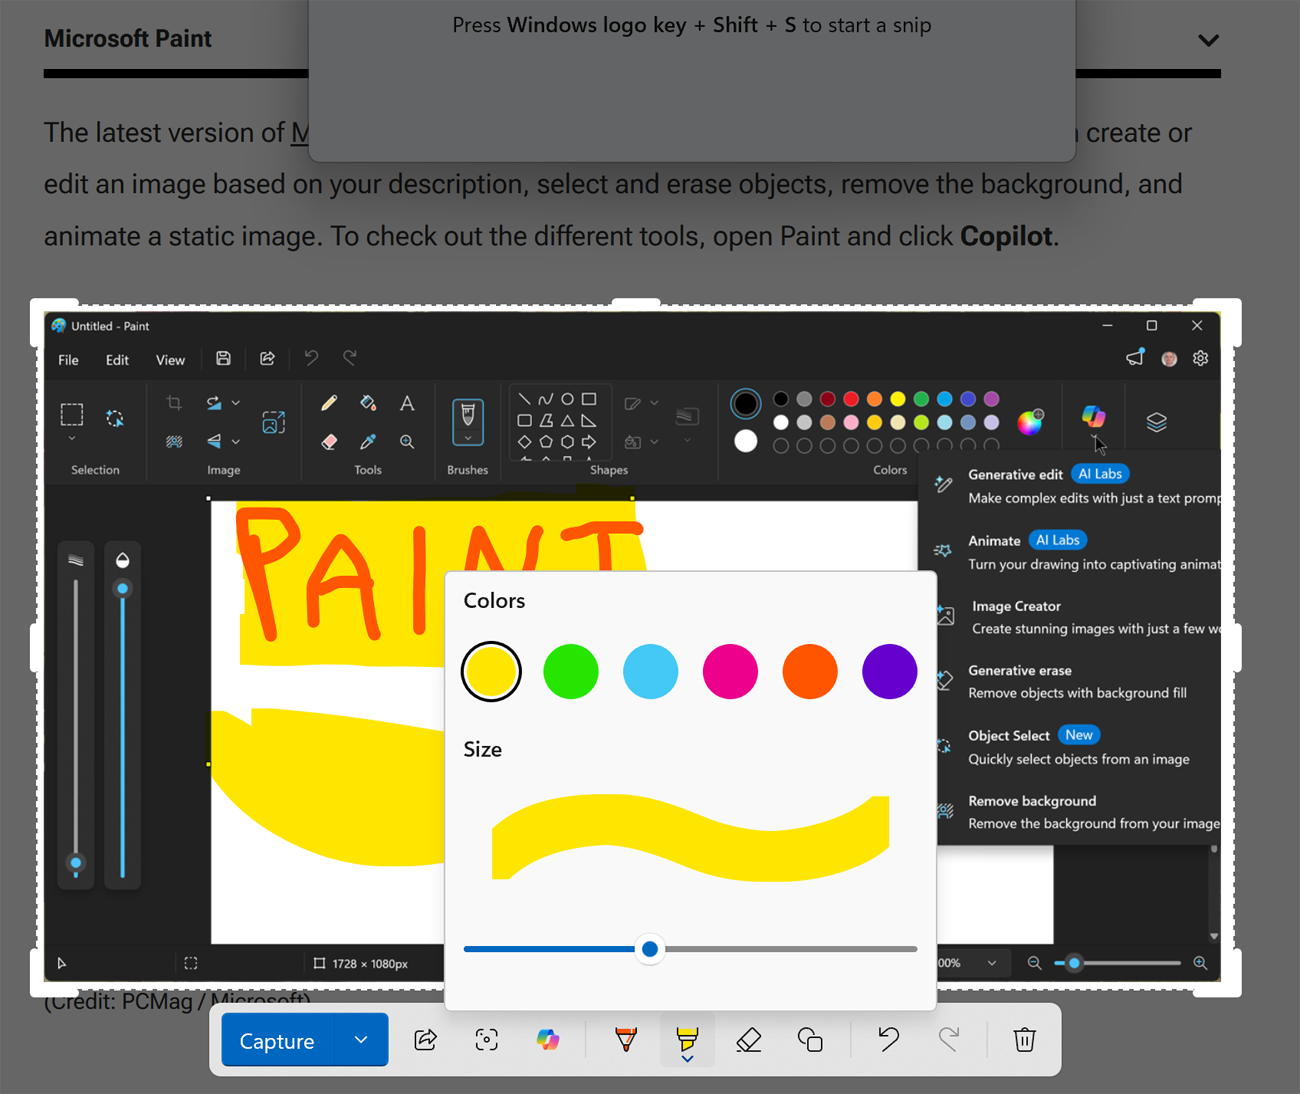
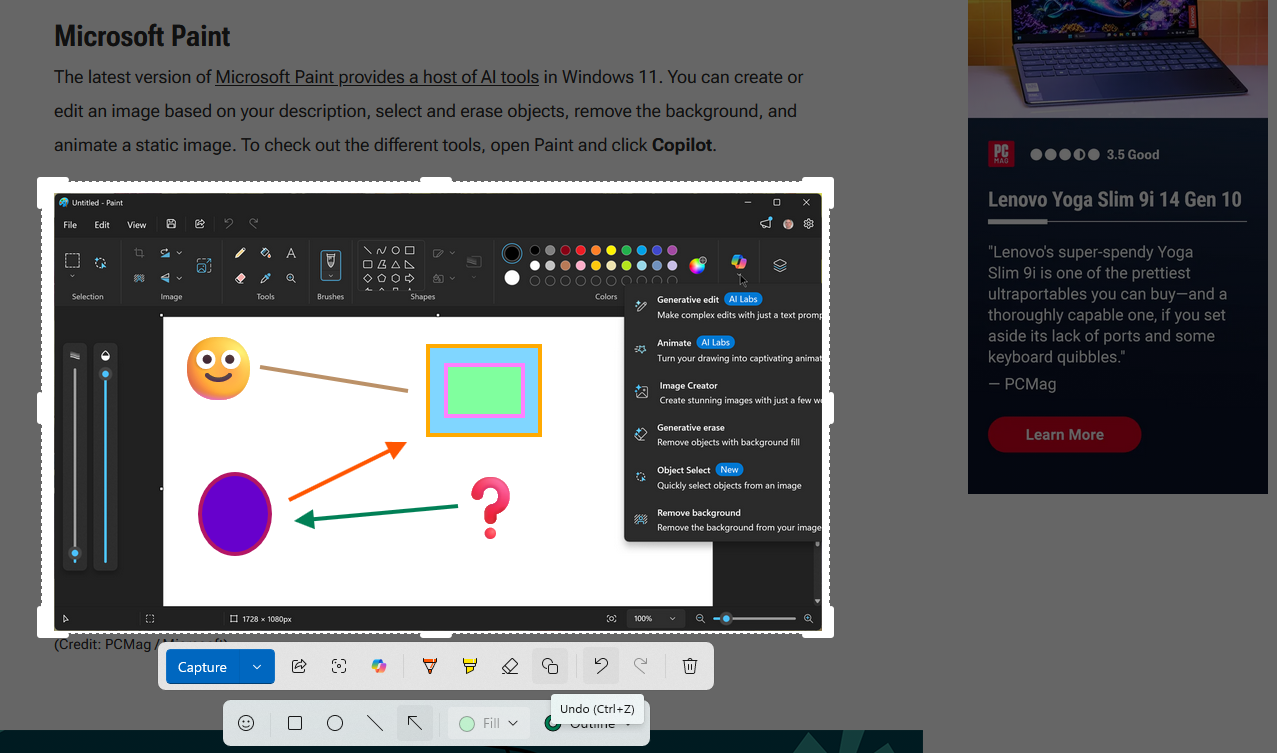
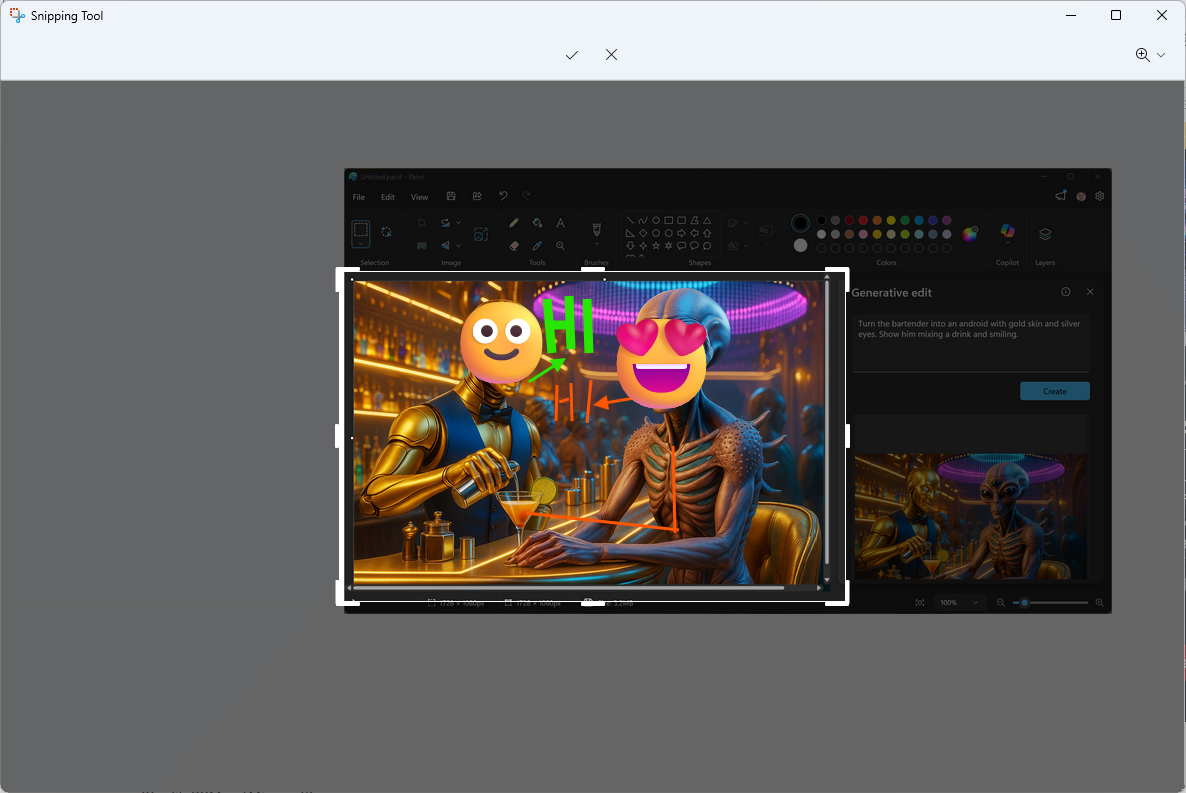
To add shapes to the image, click the Shapes tool. You can insert emojis, squares, circles, lines, or arrows. Use the Outline button to change the color of the object’s edges. If you make a mistake, click Undo to reverse your last action or Redo to repeat it.
You can also mark up an image after capturing it. Click the Camera icon, select New, and choose the Snipping area. After capturing the image, a window opens with editing options. Click Crop to manually adjust the image and apply changes by clicking the checkmark. You can also send the image to the Photos app for further editing.
Extract Text From an Image
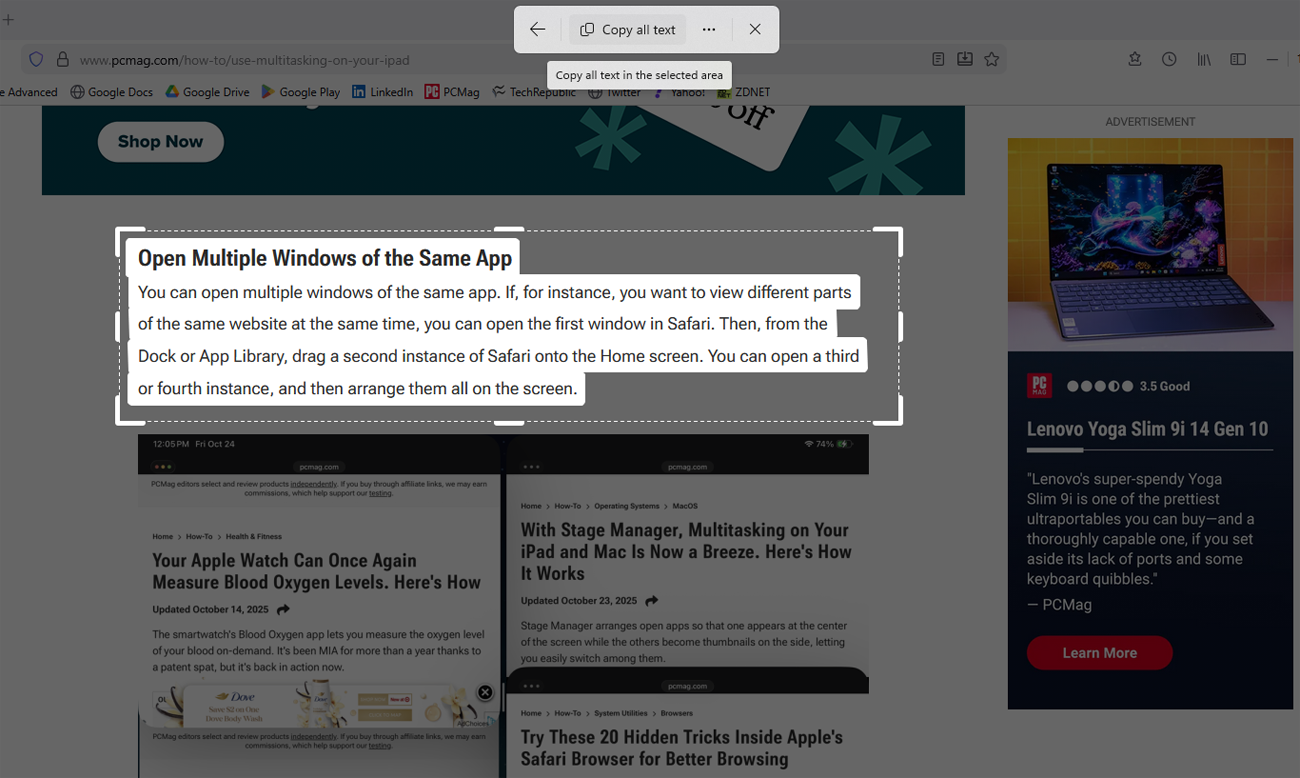
If your screenshot contains text, the Snipping Tool can extract it using OCR technology. At the initial Snipping Tool screen, click the Text extractor icon. Alternatively, click the camera icon, select New, and then click Text extractor on the mini toolbar. Draw a box around the text you want to capture. The identified text is highlighted, and you can click Copy All Text to copy it.
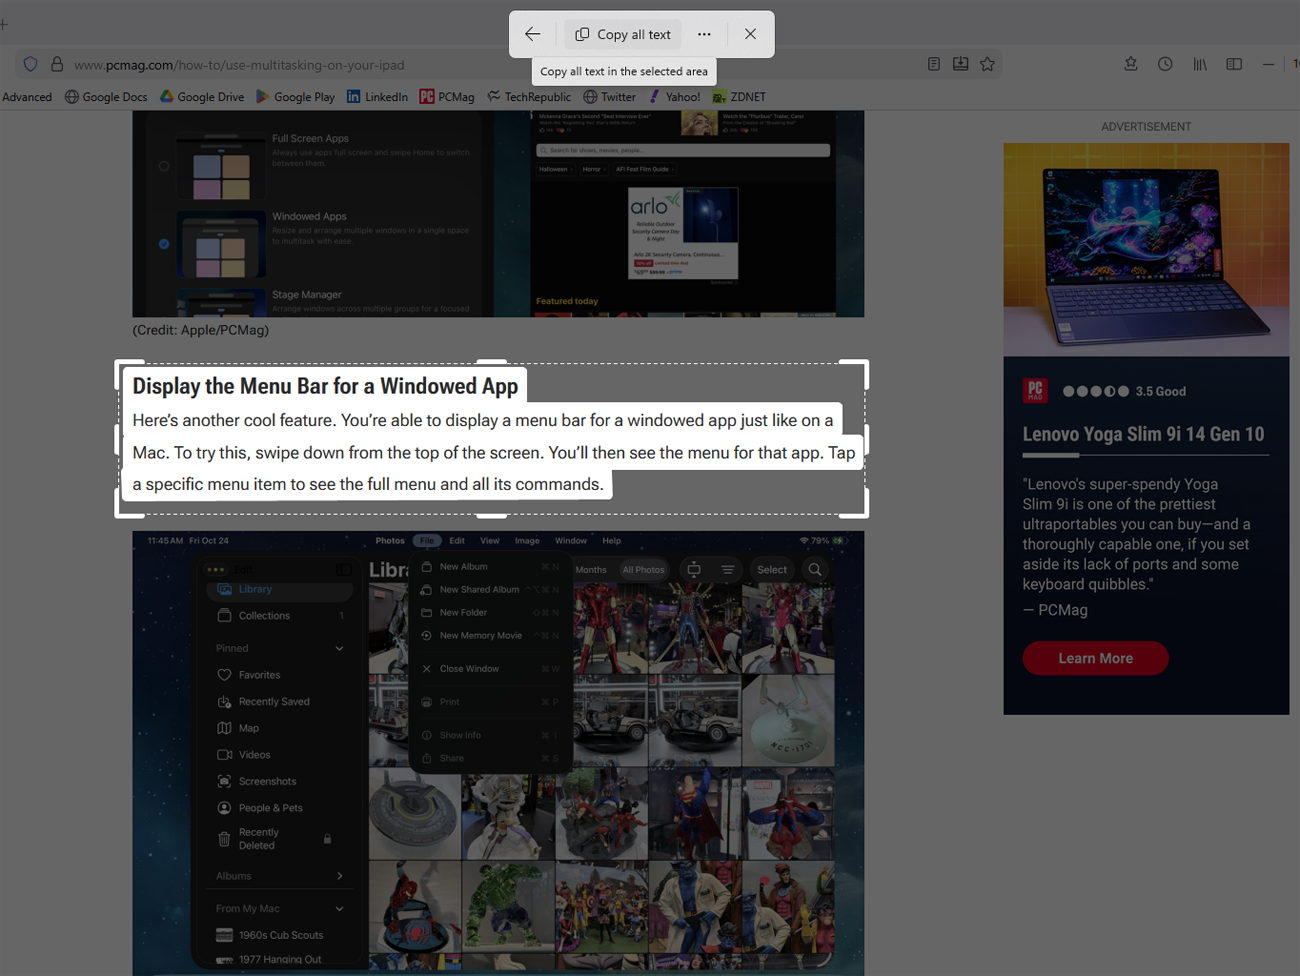
If you’ve already captured an area with text, you can do more with it. In the image window, click the Text actions icon at the bottom. Convert the text into editable characters via OCR and copy it as text, a table, or even redact sensitive information like email addresses or phone numbers.
Copy a Color
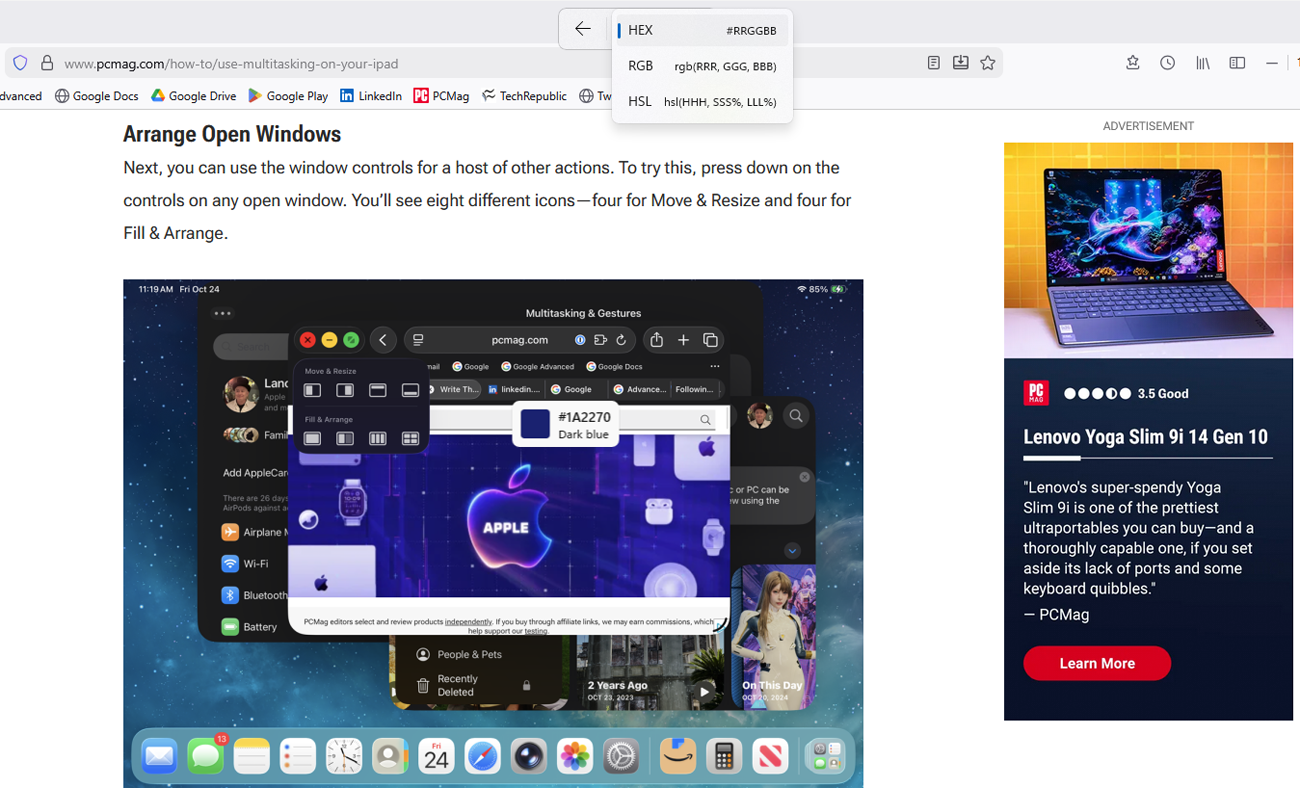
The Snipping Tool also lets you capture and copy colors from your screen. This feature is especially useful for designers and developers. Click the camera icon, select New, and then choose the Color Picker icon from the mini toolbar. Click the color format icon to select HEX, RGB, or HSL. Click on the desired color to capture its value, which you can then paste elsewhere.
Run a Visual Search with Bing
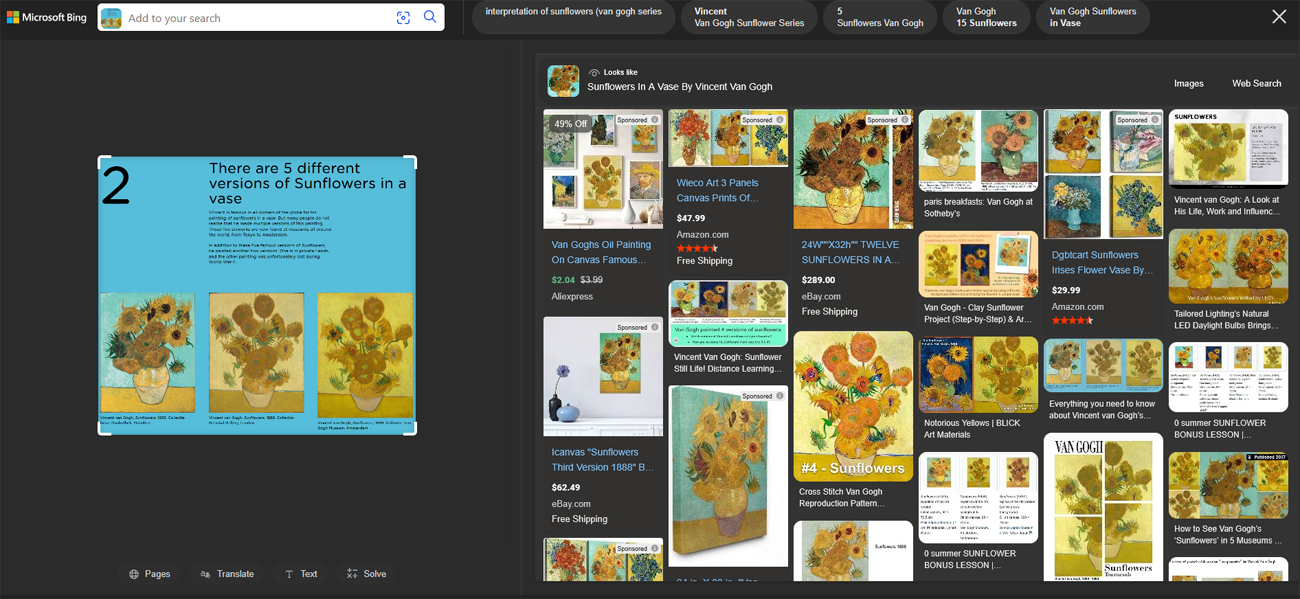
Want to learn more about what’s in your screenshot? Use Bing for a visual search. Click the camera icon, select New, and then click Quick markup on the mini toolbar. Select the area you want to capture and click the Visual Search with Bing icon. A Bing search page opens in your browser, displaying results based on the captured image. You can translate text, extract additional information, or solve equations found in the image.
Ask Copilot for Help
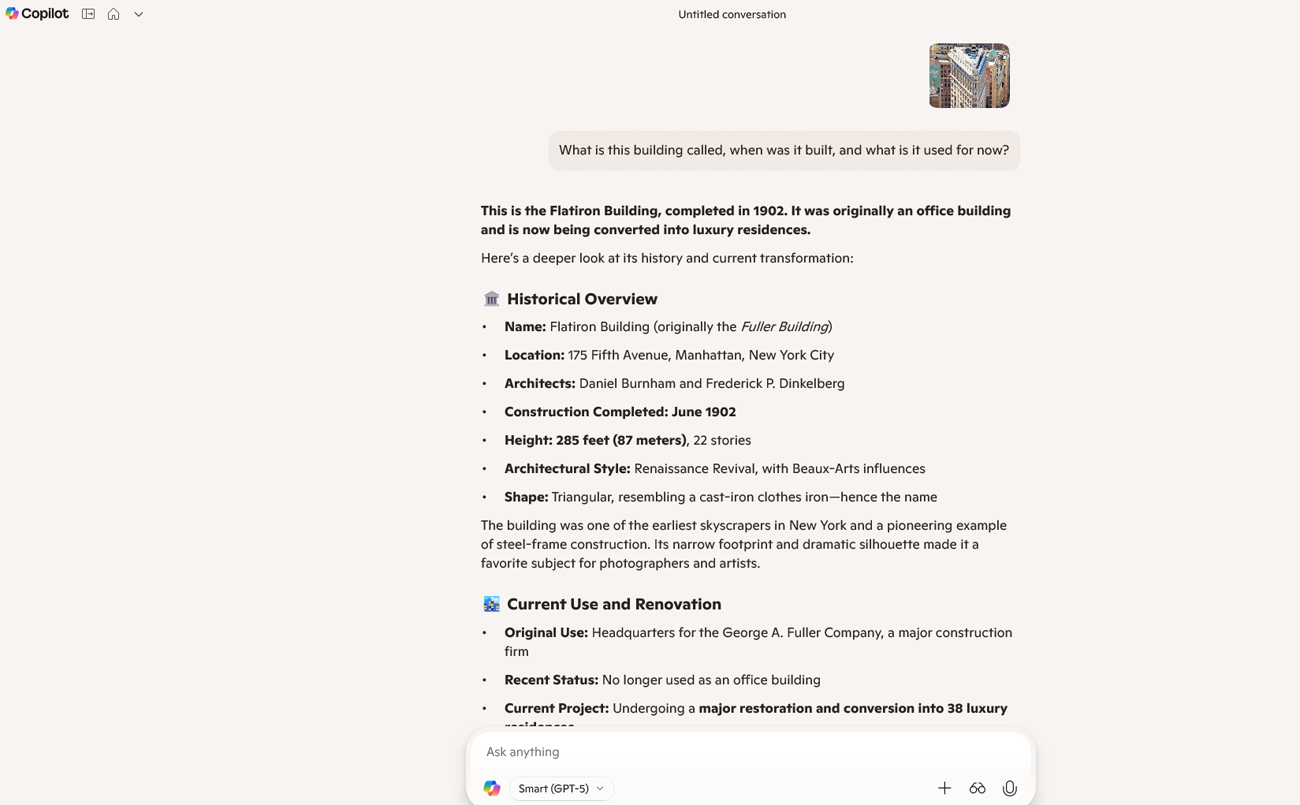
Leverage AI to get assistance with your screenshots. Click the camera icon, select New, and then click Quick markup on the mini toolbar. Select the area you want to capture and choose Ask Copilot. The Windows Copilot app opens with a thumbnail of the captured area. Enter a question about the image, and see how Copilot responds.
Posting Komentar untuk "8 Hidden Ways the Windows 11 Snipping Tool Goes Beyond Screenshots"
Posting Komentar