
Photo Editing Made Easy
Photopea: A Web-Based Image Editor with Surprising Capabilities
Photopea might not come from a billion-dollar software company, but the web-based photo editing app is remarkably powerful. It supports artboards, layers, scripts, smart objects, and, if you spring for a paid account, even some AI capabilities. Photopea lets you work with both raster and vector graphics, too, while help resources are plentiful. Some processes feel a bit slow, however, so Adobe Photoshop remains our Editors’ Choice winner for image manipulation, thanks to its state-of-the-art performance and tools.
Pricing: Most Features Are Free
Photopea is generally free. Ads do appear on the site, but a free account comes with half a gigabyte of online storage. A $5-per-month Premium account adds generative AI tools (external services provide these) and bumps your online storage allocation to 5GB. It also removes ads from the sidebar and unlocks twice as many steps in your history panel.
Photopea's Premium price is approximately one-quarter of Adobe Photoshop's (starting at $22.99 per month, with an annual commitment), but the latter does come with 100GB of cloud storage. Alternatively, you could opt for Photoshop Elements, which includes a substantial portion of Photoshop's functionality. It costs $99.99 for a three-year license. Another very capable option is CyberLink PhotoDirector, which includes AI image generation and a wealth of stock photo content, available for $64.99 per year or a one-time fee of $99.99.
What's New in Photopea?
Despite its small development team, Photopea continues to add new capabilities. Below are some highlights since the time of our last review:
- Gradient methods: You can now choose among Classic, Linear, Perceptual, Smooth, and Stripes options in the Gradient Fill panel.
- Image sharing via a web link: You can now share a web link to either an image (JPG or PNG) or a PSD (Photoshop's native, layer-supporting format) of your work.
- Improved memory usage: RAM usage is reduced by 10% to 40%, particularly when using layer styles.
- More adjustment sliders for raw conversion: The new adjustments approach those in Lightroom: Clarity, Dehaze, Saturation, Texture, and Vibrance.
- Perspective Warp: This tool lets you stretch or compress your image by drawing rectangles on it.
- Reduce Color Noise: Available in both the editing and camera raw file import interfaces, this feature joins the Strength and Protect Detail sliders.
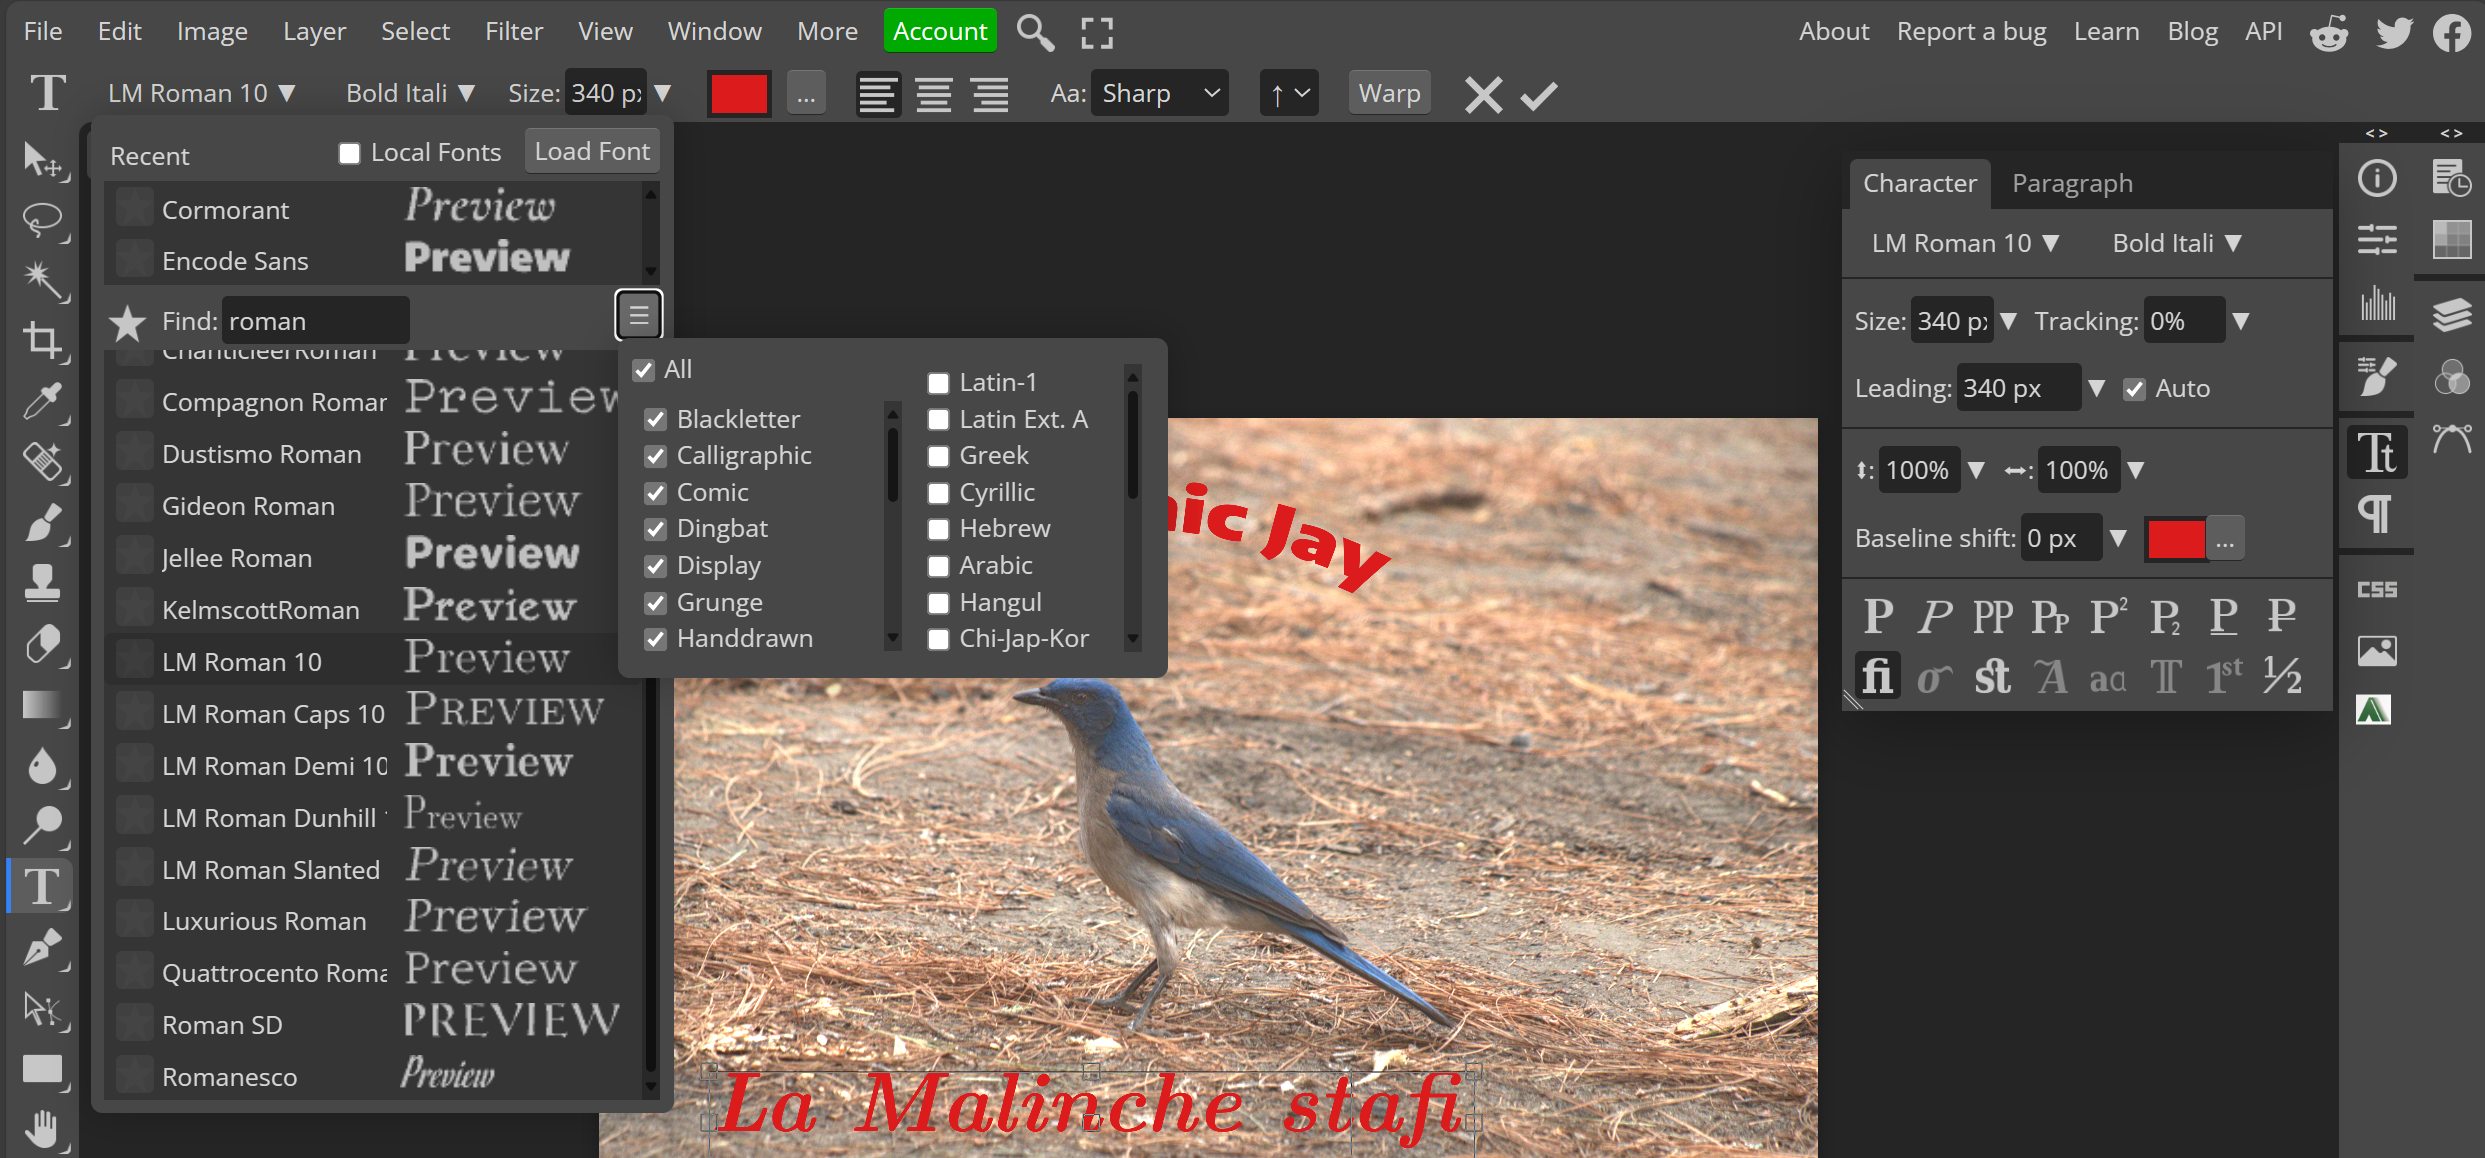
- Variable fonts support and other text Improvements: Variable fonts offer multiple looks within one font set (think different bold or italic styles, weights, and widths). Photopea also now applies fonts in your image as you roll your cursor over the typeface choices. Finally, a new Glyphs panel shows all those odd character forms that designers love.
Getting Started: Start Editing Quickly
Photopea is a web app, so all you have to do is point your browser to it to get started. Note that all of its features are available only in Chromium-based browsers; you can still use it in Firefox or Safari, but you might miss out on some capabilities. You need to give the web app permission to access your local photo folders, or you can connect your Dropbox, Google Drive, or OneDrive accounts to access photos on those cloud storage services. Another consideration is that, for Photopea to fully work, you must disable any content blockers you use. It's possible to use Photopea on your phone, as it features a responsive web design.
If you prefer the feel of an installed app over a website, you can install Photopea as a progressive web app (PWA). A handy full-screen icon at the top center of Photopea's website removes the browser borders.
When you open Photopea, you clearly see how to get started, either by opening an image file or by choosing a file type and starting from scratch. You can also drag and drop image files onto the program windows. As in Photoshop, if you drag a picture on top of an existing image, you get a new layer with that image overlaid. You can even use Smart Objects, allowing you to edit multiple instances of an image simultaneously by adjusting the original.
Photopea lacks an import option since it’s purely an editor rather than a Lightroom-style workflow application. You can choose File > Open More, then choose among (in order) From Any Folder, From Storage, Open from URL, Take a Picture, and PSD templates.
Whenever you open an image of any kind, Photopea converts it to a PSD file. Photoshop lets you open and treat any image file in its original format, but when you make edits and use layers, it saves to PSD format.
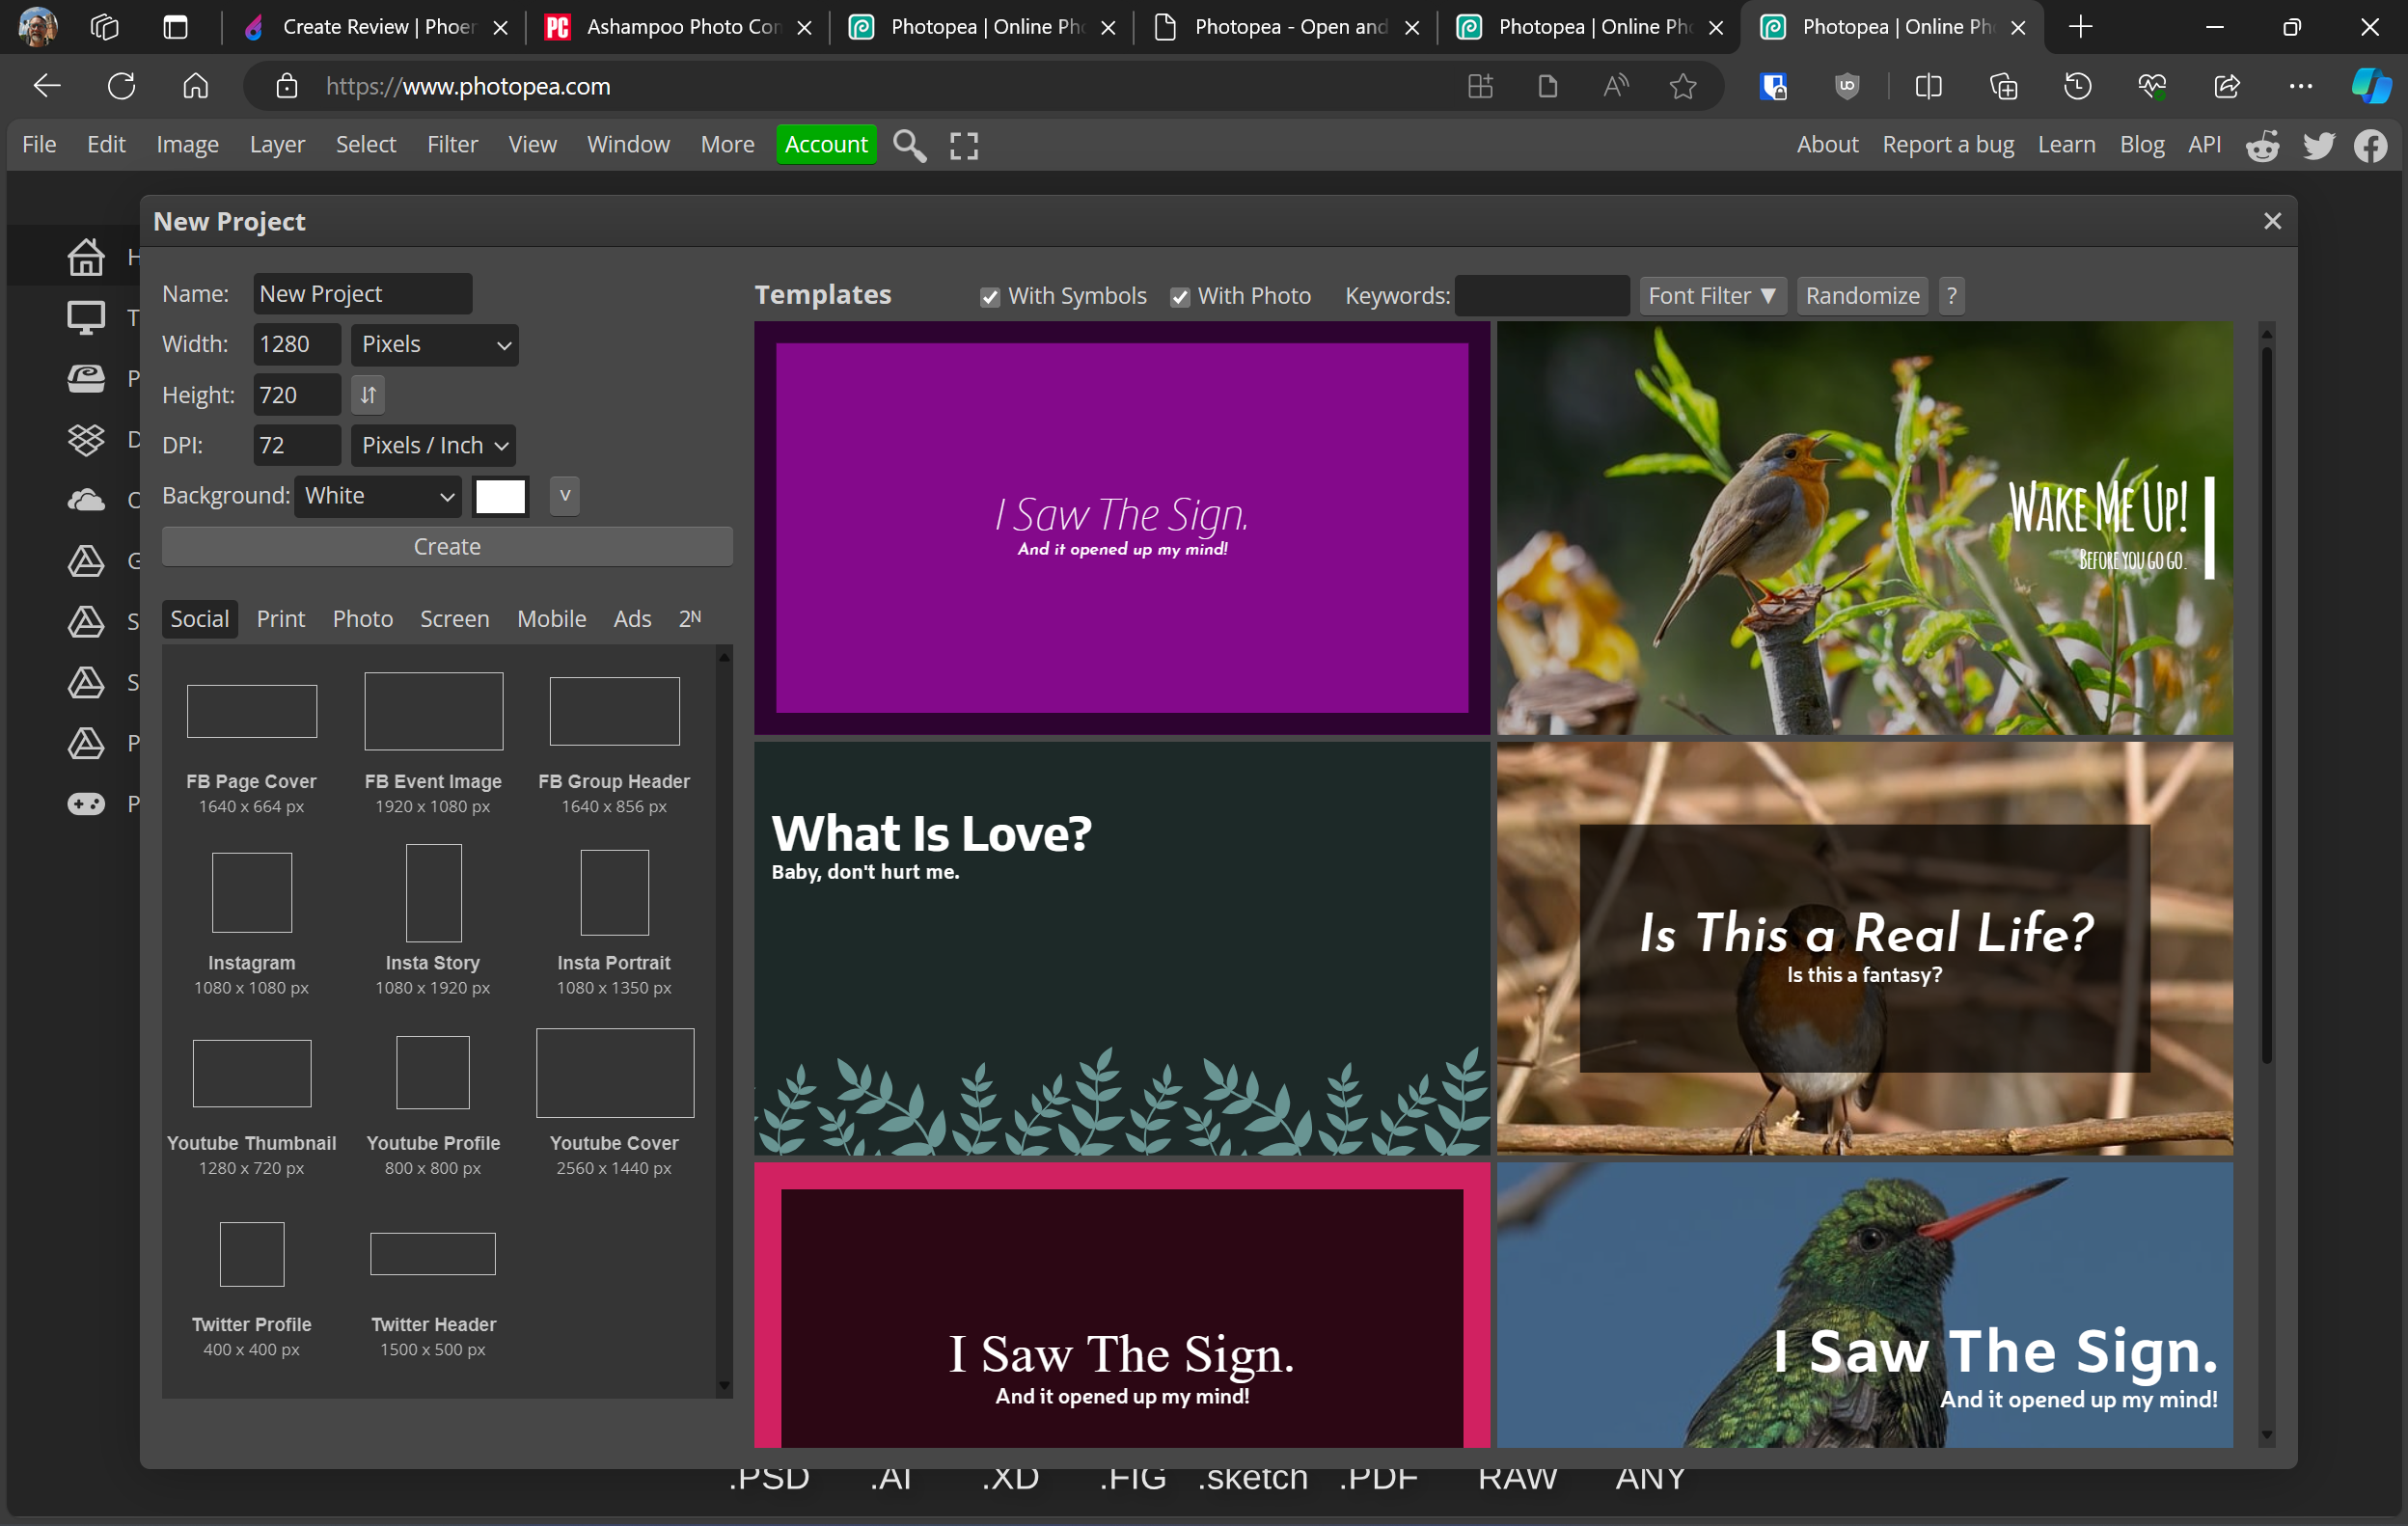
If you create a new image from scratch, Photopea, just like Photoshop, provides a respectable selection of templates.
Raw Camera File Support: Good Enough for Many
Photopea had no trouble opening and displaying most raw camera files I tried, such as Canon CR3 and Nikon NEF files. However, some files I loaded appeared corrupted. You don't have all the options you do when opening a raw file in Lightroom or Photoshop, such as color spaces, lens profile corrections, and presets. But you do get noise reduction sliders for Color, Protect Detail, and Strength. A recent "Nicer" option increased brightness and contrast to a good effect in some test shots. As mentioned, the raw import window now includes Clarity, Dehaze, Saturation, Texture, and Vibrance options, all of which should be familiar to Lightroom users.

Photopea now supports up to 32-bit-per-channel color. So, in the unusual case that your workflow involves outputting images at higher than 8-bit color depths (usually TIFFs), you're now safe. The last time I tested Photopea handled only up to 8-bit, so now it's closer to applications like Photoshop and Capture One. For web work, 8-bit color makes sense. But if you’re doing high-end photo printing, you benefit from the higher bit depths. Lightroom and Photoshop have only recently added the ability to work with HDR10 monitors, allowing you to see and edit in these higher color bit depths. The only color modes available in Photopea are RGB and CMYK, which should suit the vast majority of users.
I wouldn't rely on Photopea for a demanding raw workflow, but it can serve in a pinch in most cases if you have access to the web but not your normal software setup.
Interface: Clear, Simple, and Complete
Photopea's editing interface should be quite familiar to Photoshop users, with a left-hand toolbar (it even uses the same press-and-hold action to reveal more tools), control options across the top based on the tool you select, and panels on the right for brushes, history, layers, properties, swatches, and more. You don't have as much freedom to place panels wherever you want as in Photoshop, and sometimes a panel appears below the window, stacked underneath a higher one. Still, you can toggle any panel.
The app doesn’t have a button for viewing images at 100% (sometimes referred to as “actual pixels” or 1:1), but I like the name of the menu item for this: Pixel to Pixel. Use the Ctrl-1 keyboard shortcut to get there. You can zoom by holding down Alt and spinning the mouse wheel, as in Photoshop. The program offers good keyboard shortcut support, with combinations that closely mirror those in Photoshop. Ctrl-Z steps you back in your change history, or you can simply click in the History panel to navigate to a specific step.
Although you can have multiple images open simultaneously in Photopea, I miss the ability to show more than one image window at a time, whether for comparing two different images or the versions before and after editing. You could just open another browser window to Photopea, however. I also noticed that some adjustment sliders have a slight delay; most desktop software works instantaneously.
If you get stuck, Photopea provides a thorough Learn website that covers most of the program’s features. For some tools, a Help button displays a message that guides you in the right direction.
Generally, I find Photopea's interface to be vastly preferable to that of the other well-known and free Photoshop clone, the GNU Image Manipulation Program (GIMP). I know GIMP has its fans, but I consider it one of the least usable programs around. One advantage it does have over Photopea is support for Photoshop plug-ins, though Photopea at least lets code-savvy users build their own.
Basic Photo Editing Tools: All the Standard Options
The Image menu in Photopea provides access to all the standard lighting and color adjustment tools, including Brightness/Contrast, Curves, Exposure, Hue/Saturation, Levels, and Shadows/Highlights. It also includes Desaturate, Vibrance, and Replace Color options. Alternatively, you can add a layer to do any color and light adjustments. The Crop tool works well and clearly, as do Perspective Crop and Slice tools. Blur, sharpen, and smudge capabilities join these for pixel-level edits.
Photopea includes all the selection tools Photoshop has had for several years: Ellipse, Lasso, Magic Wand, Magnetic Lasso, and Rectangle. But I’m impressed that it includes a few recent tools that work more automatically. For example, when you use either of its automatic selection tools, Object Selection or Quick Selection, you see a Subject Select button in the top toolbar.
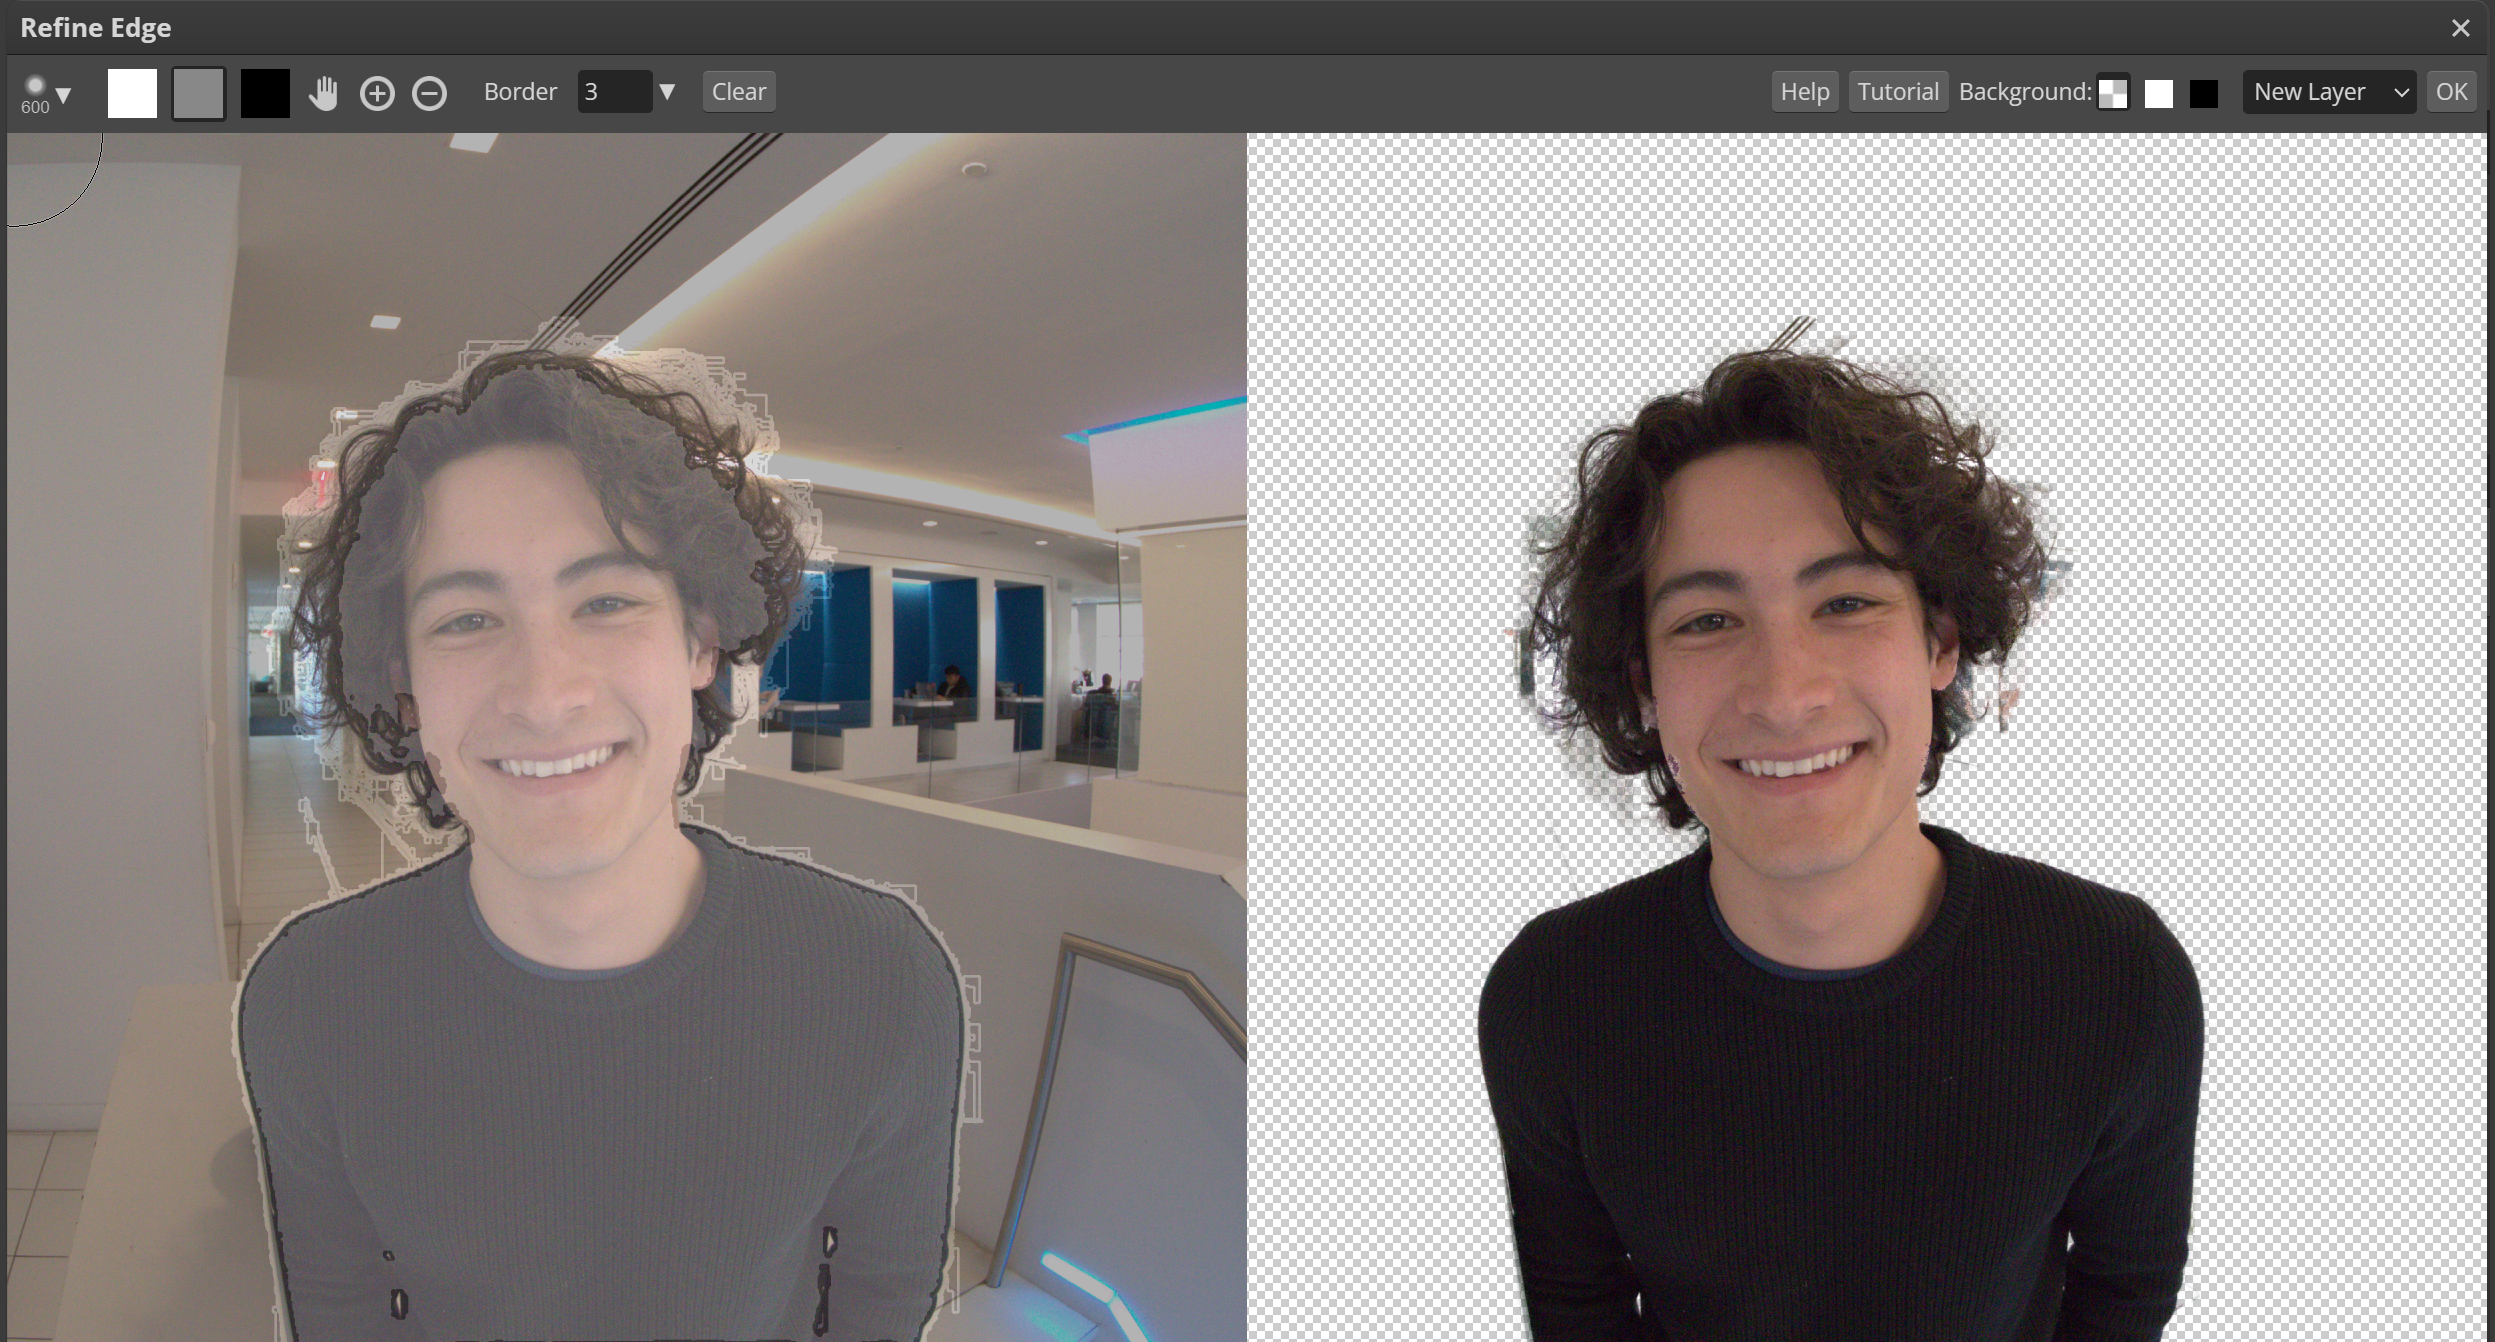
After making a selection, you can use the Refine Edge view to perfect it, although I noticed a slight delay between drawing to add to or remove from the selection. With Quick Selection, you simply click on an object in the photo to select it. Object Selection allows you to draw a box around what you want to select; both tools performed extremely well in testing.
In the image below, you can see the Refine Edge view after using Subject Select:
Working With Layers: Lots of Blending Modes, and Masking Too!
If you are used to working in Photoshop, you will miss very little in Photopea when it comes to layers—an impressive feat for a free image editing app. In addition to standard layers, with transparency and 27 blending modes, you get adjustment and mask layers. Layer options include 3D, bevel and emboss, color overlay, drop shadow, gradient overlay, inner shadow, inner glow, satin, and stroke. You can even define a custom layer style if you want. Photopea includes a good selection of gradients (which benefit from the added support for 16- and 32-bit color depths), though not as extensive as those in Photoshop.
Brushes: Not Quite Photoshop-Level
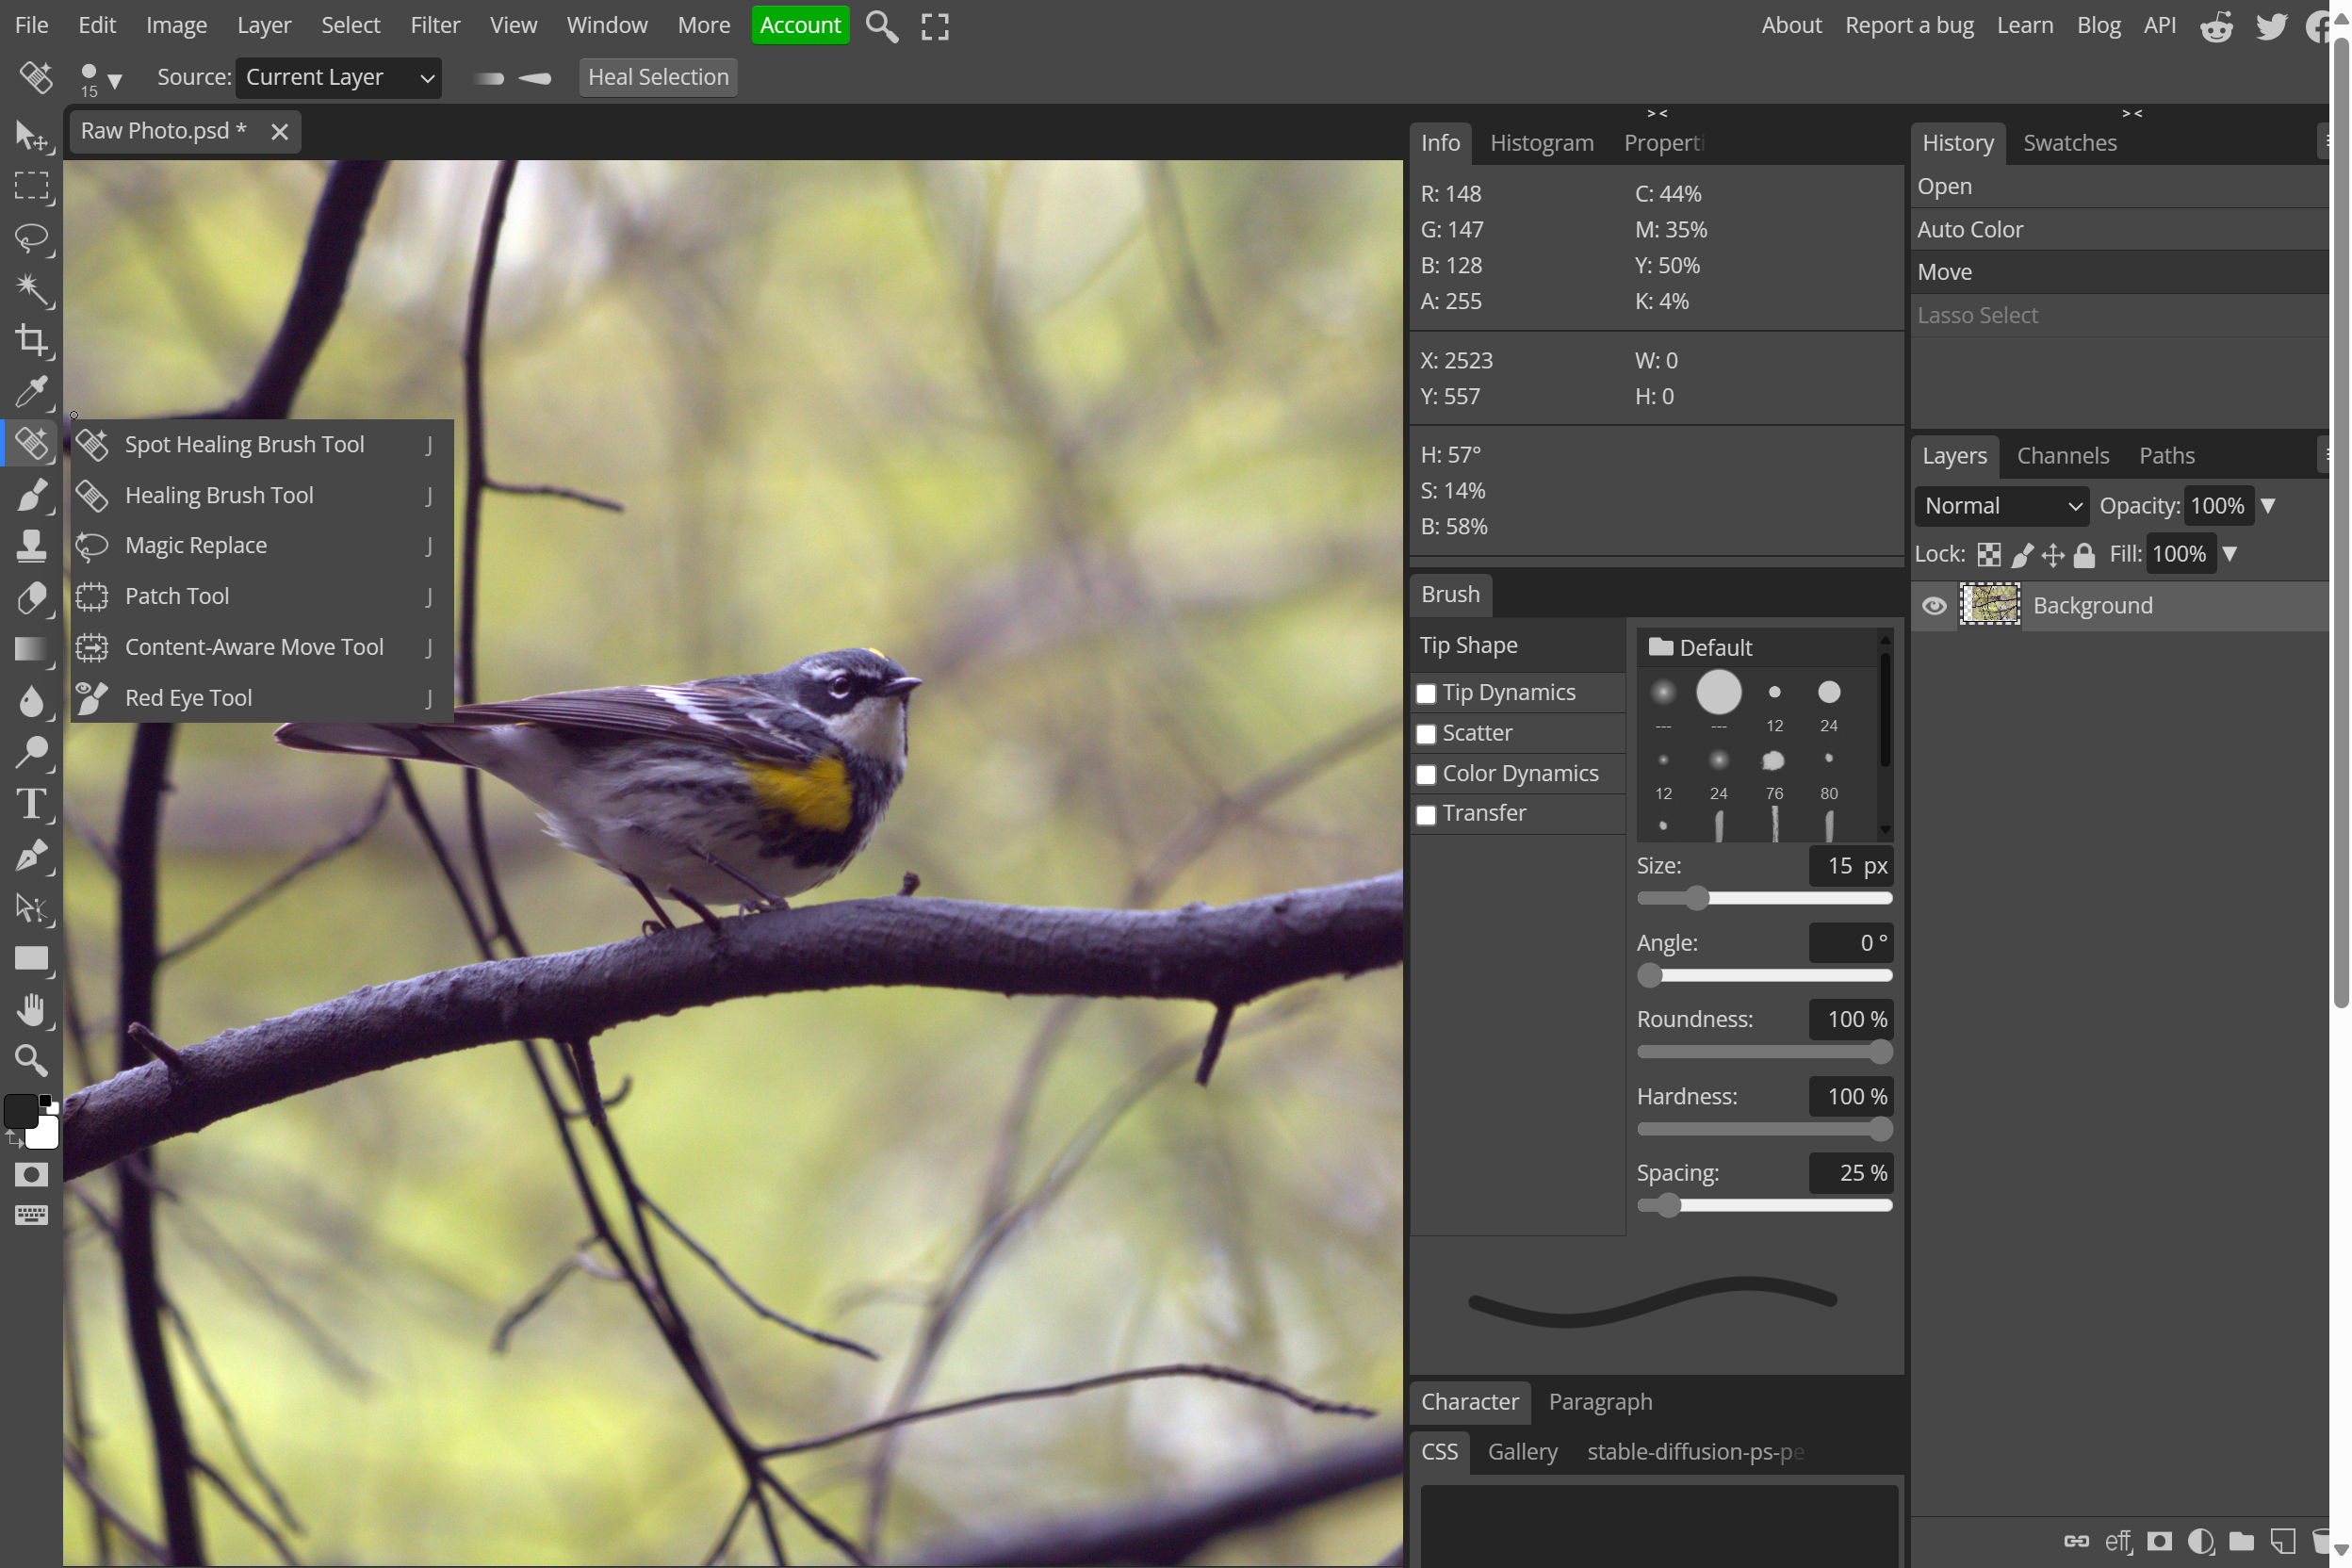
You don’t get quite the selection of brushes and brush options you do in Photoshop, and you might miss the Art History and History Brush options in that dominant software. However, you can import your own brushes in the ABR format. The brushes can have tip dynamics and color dynamics, which randomize those aspects as you stroke. A Scatter option allows for more random brushing results. In addition to the standard brush, Photopea includes Clone Stamp, Healing, Patch, Pencil, and Spot Healing choices.
Text Tools: Impressively Flexible
The program’s text tools are, once again, impressive for a free, browser-based app. It features both a Type tool and a Vertical Type tool, with options that allow you to present text in an arc. Tons of royalty-free font choices are at your disposal. In addition to the standard font styles, you get kerning (called horizontal scaling—in addition to vertical scaling), ligature, subscript, superscript, and tracking settings. You can even choose alternate glyphs. New support for variable fonts provides even more options.
Generative AI: About Average
If you upgrade to Photopea’s $5-per-month account, you get access to generative AI image services. The Text-to-Image panel (accessible from the Window > More menu) lets you enter text, such as “goat riding a bike.” The generative AI tools in Photopea, like most similar tools at the moment, are not always convincing. Even Photoshop’s gen-AI features aren't perfect, unless you iterate your text prompt many times.

Clicking on the result in the panel pops the new picture onto your canvas. In addition to these on-demand images, Photopea includes a gallery of stock images from the same panel. Various AI plug-ins are available, too.
Another place you find generative AI is with the Magic Replace tool in the Healing Brush section of the toolbar. It works similarly, but you can, for example, select a hat to replace it with another color or type of hat you describe. My results weren't particularly impressive, but you may find them useful for simple switches.
Vector Editing: More Than the Minimum
Yes, Photopea can create and edit both vector graphics and bitmap images. You can even open Adobe Illustrator (.AI) files. When you do this in Photoshop, you get a flat, one-layer image, whereas Photopea maintains all the path layers. All the standard path tools, including Curvature Pen, Free Pen, Pen, and Shapes, are available. It can even convert raster images to vector images; this worked even with a complex photo in testing. You can choose the number of colors, as well as pick between Cartoon and Photo treatments. If your vector editing needs are basic, you’ll be fine with Photopea. For more advanced work, you are still better off with Adobe Illustrator.
Outputting Your Work: Many Formats, But No Printing
Photopea supports a wide range of file formats for exporting your creations. As mentioned, the default is PSD, but from the Export As menu, you get a choice of all the common formats—BMP, GIF, JPG, PDF, PNG, SVG, TIFF, WEBP—and even some less common ones like DDS and PPM. The app doesn't have any printing capabilities, however. In fact, choosing Print from the menu just opens a Save for web dialog box with PDF set as the output format.
Can You Use Photoshop Files in Photopea?
I had no trouble opening different sorts of Photoshop PSD files in Photopea. It retained all the layers, and files opened surprisingly quickly. If you use advanced AI tools in Photoshop and then attempt to open the file in Photopea, the image will still retain these effects, but you won't be able to adjust them. You won't have any trouble opening Photopea files in Photoshop.
Are There Any Drawbacks to Photopea?
Because Photopea is a web app, you need to be careful not to navigate away from the page because you could lose all your work in the blink of an eye. Another downside is that some operations, such as shadow adjustments, were unexpectedly slow in testing. To this, add the lack of some advanced Photoshop tools already mentioned, such as automatic noise reduction, camera lens profile corrections, and some AI tools like automatic sky replacement and colorization.
Posting Komentar untuk "Photo Editing Made Easy"
Posting Komentar