
How to Implement TikTok Ads Pixel: A Step-by-Step Guide for Marketers
In the ever-evolving world of digital marketing, TikTok has emerged as a powerful platform for businesses looking to connect with a massive and engaged audience. One of the most effective tools for maximizing the impact of your TikTok ads is the TikTok Ads Pixel. This tracking tool allows you to monitor user behavior, track conversions, and optimize your ad campaigns for better performance. In this guide, we’ll walk you through the process of implementing the TikTok Ads Pixel, ensuring that your marketing efforts are both efficient and effective.
What is a TikTok Pixel?
A TikTok Pixel is a snippet of JavaScript code that you install on your website. It tracks user interactions with your site, such as page views, purchases, and other key actions. This data is then used by TikTok to help you create more targeted and effective ad campaigns. The pixel provides valuable insights into how users engage with your brand, allowing you to refine your strategies and improve your return on investment (ROI).
Why Use a TikTok Pixel?
Integrating a TikTok Pixel into your marketing strategy offers several benefits:
- Enhanced Ad Targeting: By tracking user behavior, you can create custom audiences based on specific actions taken on your website.
- Optimized Ad Spend: The pixel helps you allocate your budget more effectively by highlighting which campaigns are performing well.
- Accurate Conversion Tracking: You can measure the success of your ads by tracking conversions directly from your website.
- Retargeting Capabilities: The pixel enables you to retarget users who have visited your site but haven’t made a purchase, increasing the likelihood of conversion.
- Valuable Insights: Gain detailed analytics about user behavior, helping you understand what works and what doesn’t in your marketing efforts.
Steps to Implement TikTok Ads Pixel
Implementing the TikTok Ads Pixel involves a few straightforward steps. Whether you're using a WordPress site or another platform, the process remains largely similar. Here’s a step-by-step guide to help you get started:
Step 1: Access Your TikTok Business Manager
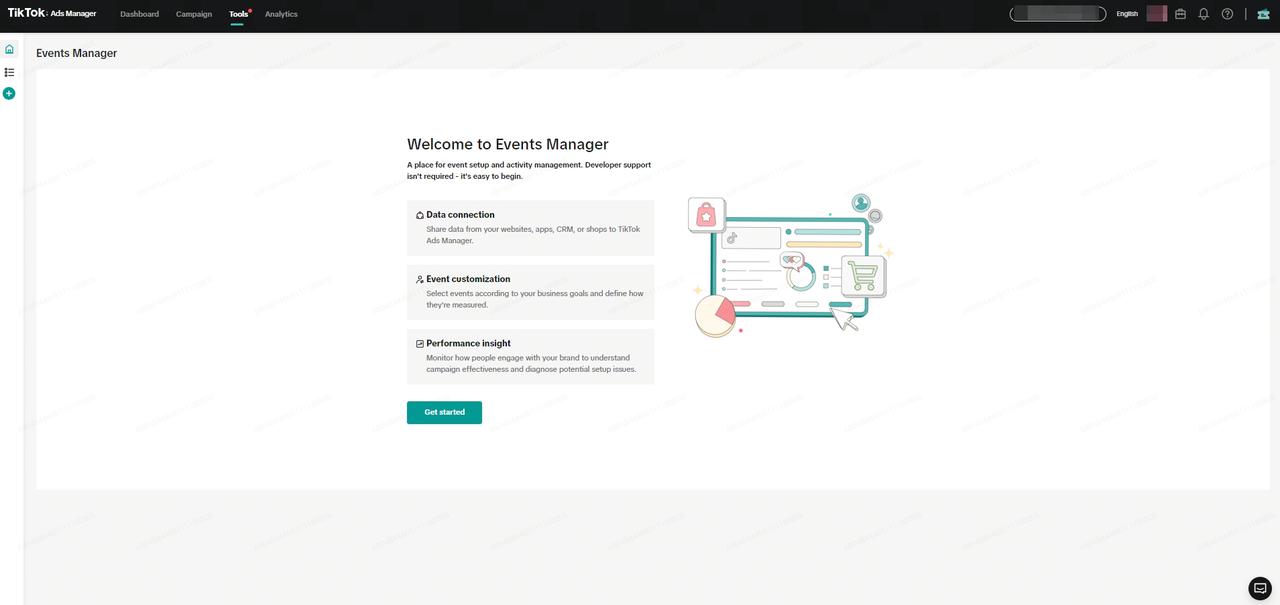
To begin, log in to your TikTok Business Manager account. If you don't have one, you'll need to create it first. Once logged in, navigate to the "Tools" section and select "Events."
Step 2: Create a New Pixel

Click on "Get Started" to initiate the process of creating a new TikTok Pixel. You'll be prompted to enter a name for your pixel. Choose a name that's easy to identify and relevant to your campaign.
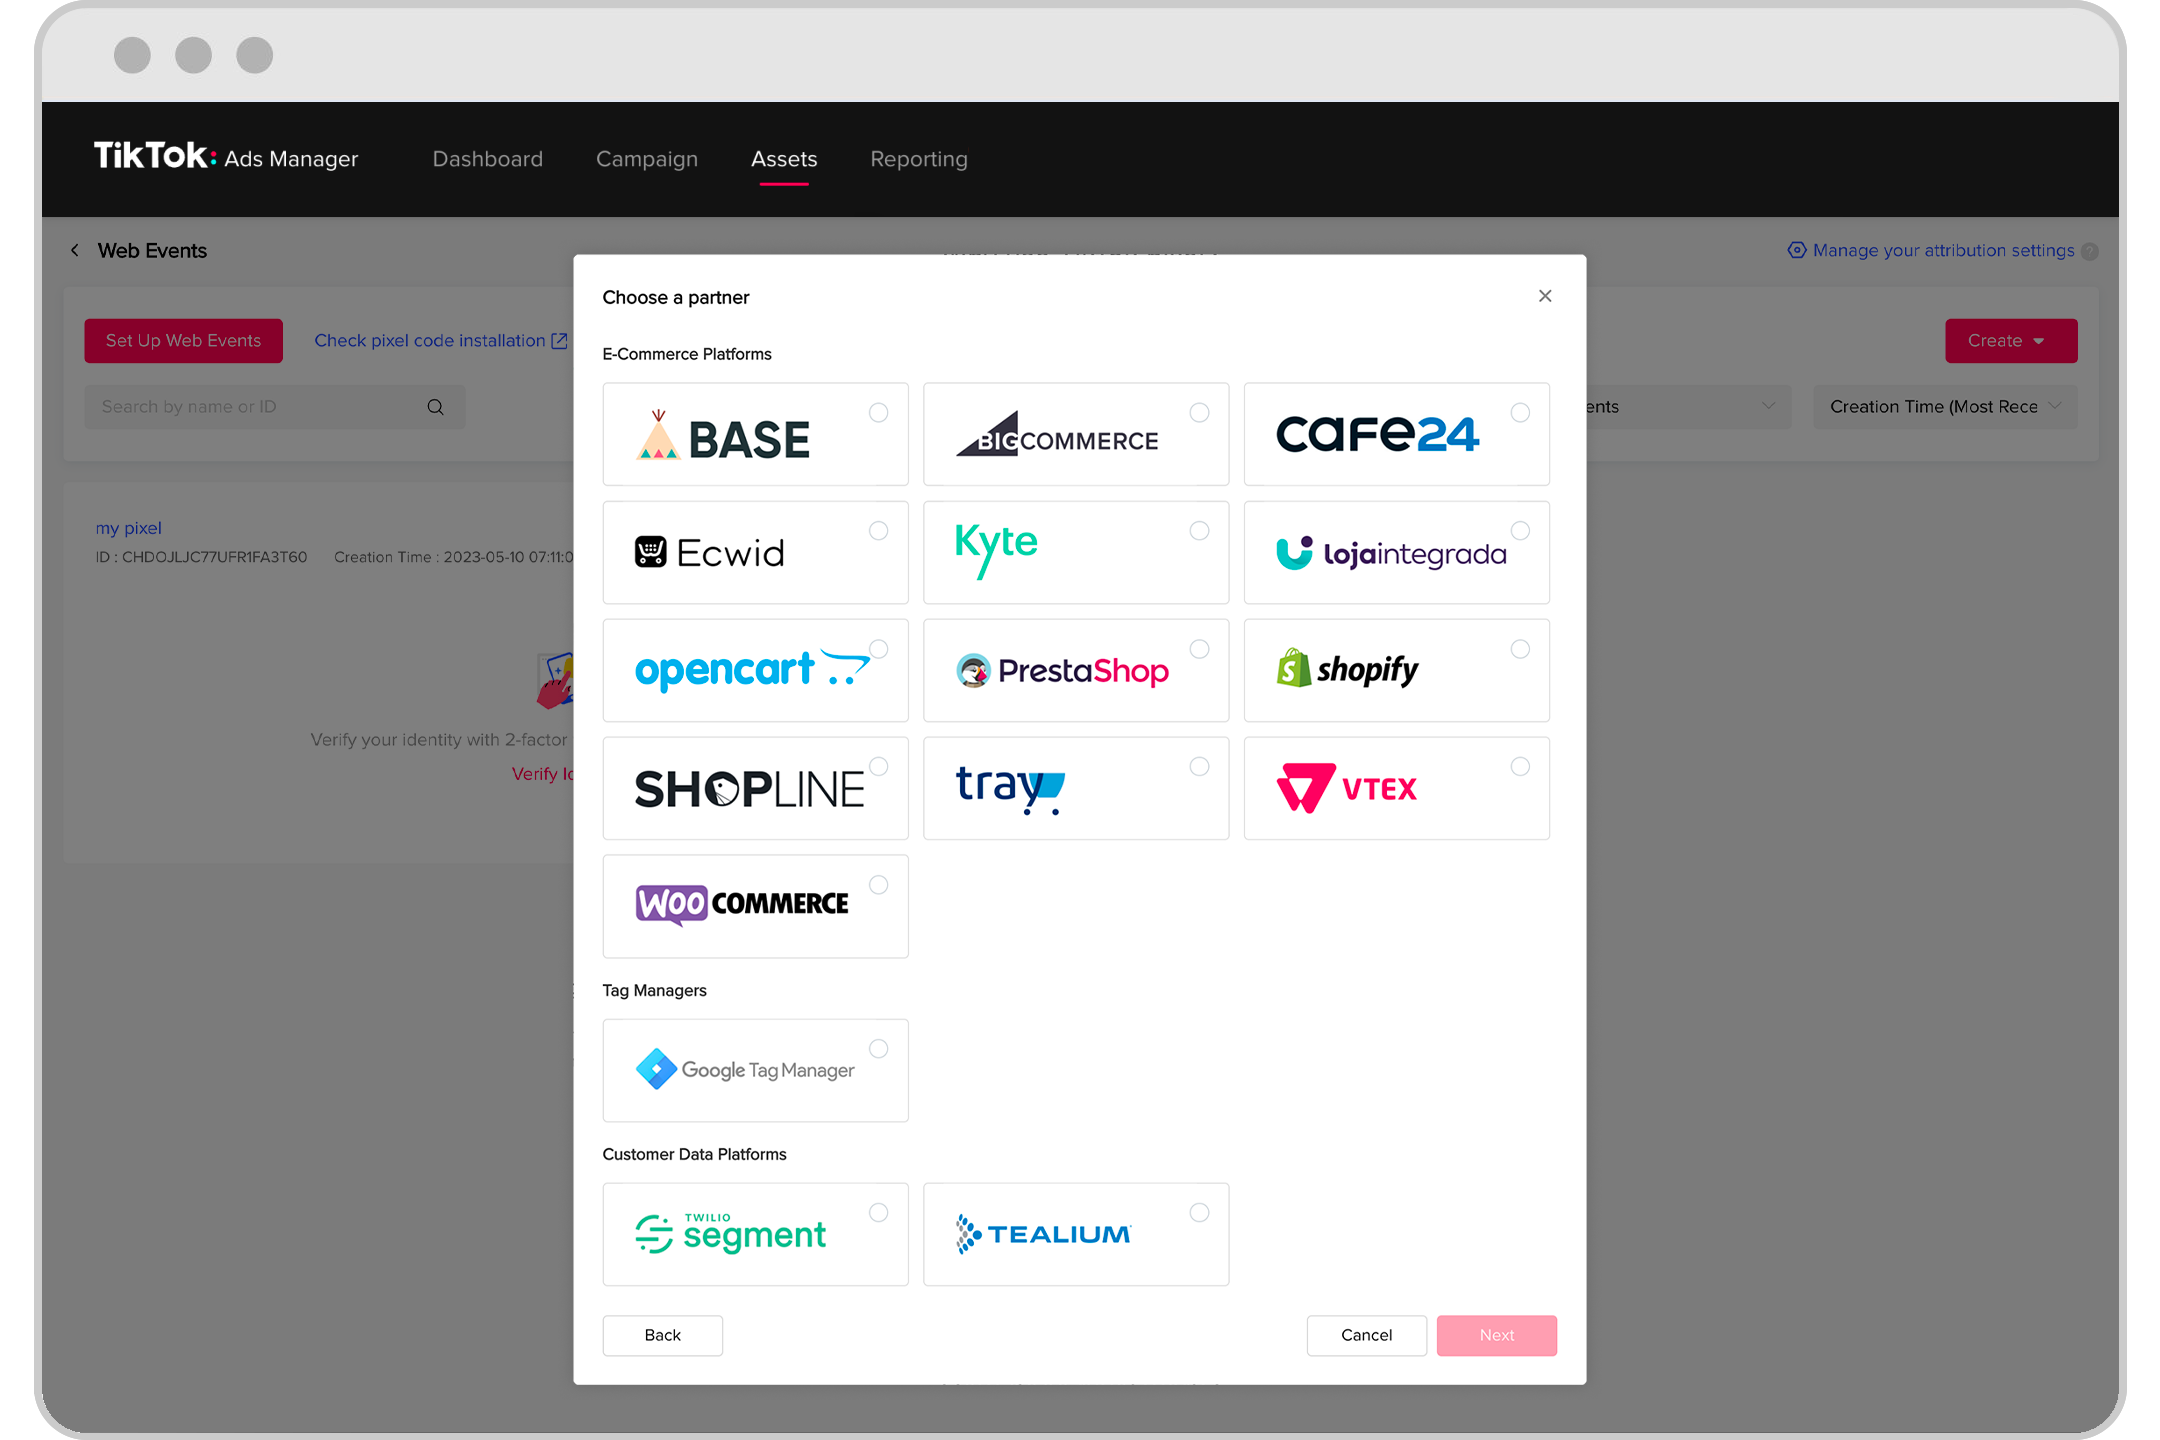
Step 3: Set Up Web Events
After naming your pixel, you'll need to set up web events. Select "Web" as the type of event you want to track. Enter the URL of your website and choose the connection method. For most users, selecting "Manual Setup" is the best option.
Step 4: Install the Pixel Code

Once you've selected your connection method, you'll receive a unique pixel ID. This ID is essential for tracking user activity on your website. You'll need to install the pixel code on your website. If you're using a platform like WooCommerce, you can use plugins like FunnelKit Funnel Builder to streamline this process.
Step 5: Enable Event Tracking
After installing the pixel, you'll need to enable the events you want to track. Common events include page views, add to cart, checkout, and purchase. These events will help you understand user behavior and optimize your ad campaigns accordingly.
Step 6: Test Your Pixel
Before launching your campaigns, it's crucial to test your TikTok Pixel to ensure it's working correctly. You can use the TikTok Pixel Helper, a Chrome extension, to verify that the pixel is firing correctly and that events are being tracked accurately.
Tips for Effective TikTok Pixel Implementation
To make the most of your TikTok Ads Pixel, consider the following tips:
- Enable Advanced Matching: This feature allows you to capture more user data, improving the accuracy of your targeting.
- Use UTM Parameters: Add UTM parameters to your ad links to track traffic sources and analyze campaign performance.
- Set Up Retargeting Campaigns: Create custom audiences based on user behavior to retarget those who have shown interest in your products.
- A/B Test Your Ads: Experiment with different ad creatives and messaging to determine what resonates best with your audience.
Frequently Asked Questions (FAQs)
Q: What is the purpose of a TikTok Pixel?
A: The TikTok Pixel is used to track user interactions on your website, providing valuable data to optimize your ad campaigns.
Q: How do I install the TikTok Pixel on my website?
A: You can manually install the pixel code on your website or use a plugin like FunnelKit Funnel Builder to simplify the process.
Q: Can I track multiple events with the TikTok Pixel?
A: Yes, you can track various events such as page views, add to cart, and purchases to gain insights into user behavior.
Q: How do I know if my TikTok Pixel is working correctly?
A: Use the TikTok Pixel Helper extension to test and verify that your pixel is functioning as expected.
Conclusion
Implementing the TikTok Ads Pixel is a critical step in optimizing your digital marketing strategy. By tracking user behavior and analyzing campaign performance, you can make informed decisions that lead to better results. With the right tools and strategies, you can harness the power of TikTok to reach a wider audience and drive meaningful engagement. As you embark on this journey, remember that continuous testing and optimization are key to long-term success. Start implementing the TikTok Ads Pixel today and unlock the full potential of your marketing efforts.
Posting Komentar untuk "How to Implement TikTok Ads Pixel: A Step-by-Step Guide for Marketers"
Posting Komentar