
How to Install the TikTok Pixel: A Complete Step-by-Step Guide
The TikTok platform has become a powerful tool for businesses looking to connect with a vast and engaged audience. As a result, many marketers are turning to TikTok advertising to drive traffic, generate leads, and boost sales. However, without proper tracking, it can be difficult to measure the effectiveness of these campaigns. This is where the TikTok Pixel comes in.
The TikTok Pixel is a tracking tool that allows you to monitor user behavior on your website and track conversions from your TikTok ads. By installing the TikTok Pixel, you can gain valuable insights into which ad campaigns are driving real results, helping you optimize your marketing efforts and improve your return on investment (ROI).
In this guide, we'll walk you through the process of installing the TikTok Pixel on your website, whether you're using WordPress, WooCommerce, or another platform.
What is the TikTok Pixel?

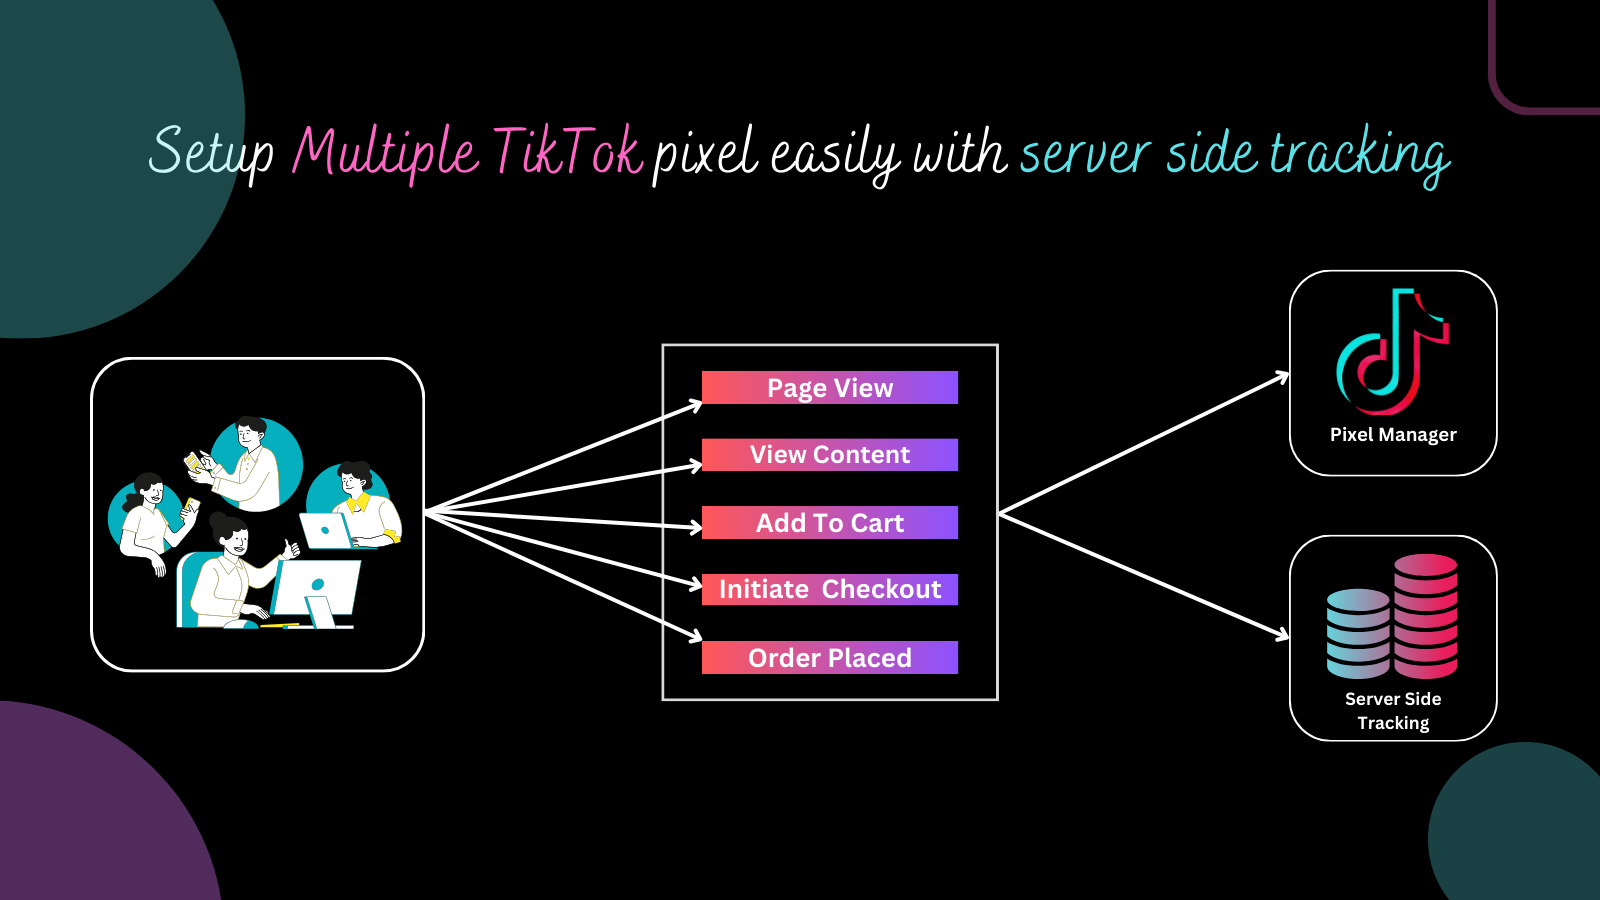
The TikTok Pixel is a piece of JavaScript code that you place on your website. It tracks user interactions such as page views, product views, add-to-cart actions, and purchases. This data is then sent back to TikTok, allowing you to:
- Measure the performance of your ad campaigns
- Retarget users who have shown interest in your products
- Create custom audiences for more effective targeting
- Optimize your ad spend by focusing on high-performing campaigns
By integrating the TikTok Pixel with your website, you can gain a clearer understanding of how your TikTok ads are contributing to your business goals.
Why Install the TikTok Pixel?
There are several compelling reasons to install the TikTok Pixel on your website:
- Track Conversions: Understand which TikTok ads are leading to actual sales or other desired actions.
- Optimize Ad Performance: Use conversion data to refine your ad strategy and improve ROI.
- Retarget Potential Customers: Reach out to users who visited your site but didn’t make a purchase.
- Create Custom Audiences: Build targeted audiences based on user behavior to run more effective ads.
- Improve Audience Matching: Enable advanced matching features to enhance ad delivery and accuracy.
These benefits make the TikTok Pixel an essential tool for any business leveraging TikTok for marketing.
How to Install the TikTok Pixel on Your Website
Option 1: Using MonsterInsights (WordPress)
If you're using WordPress, the easiest way to install the TikTok Pixel is through the MonsterInsights plugin. Here’s how:
- Install MonsterInsights: Go to your WordPress dashboard, navigate to Plugins > Add New, and search for "MonsterInsights." Click "Install Now" and activate the plugin.
- Upgrade to Pro: The TikTok Pixel integration is available in the Pro version of MonsterInsights. Upgrade to the Pro plan if you haven't already.
- Enable PPC Ads Tracking: Go to Insights > Settings > Conversions and enable the PPC Ads Tracking addon.
- Add Your Pixel ID: Scroll down to the TikTok Ads Tracking section and enter your TikTok Pixel ID.
- Save Changes: Once you’ve added your pixel ID, save the settings.
With MonsterInsights, you can now track conversions directly from your WordPress dashboard without needing to write any code.
Option 2: Using FunnelKit (WooCommerce)
For WooCommerce users, the FunnelKit Funnel Builder offers a seamless way to integrate the TikTok Pixel. Here's how:
- Install FunnelKit: Go to your WordPress dashboard, navigate to Plugins > Add New, and search for "FunnelKit Funnel Builder." Install and activate the plugin.
- Set Up Your Pixel: Log in to your TikTok Business Manager account, go to Events > Web Events, and create a new pixel.
- Copy Your Pixel ID: Once your pixel is created, copy the Pixel ID.
- Paste in FunnelKit: Go to FunnelKit > Settings > TikTok and paste your Pixel ID into the appropriate field.
- Enable Events: Choose the events you want to track, such as Page View, Add to Cart, and Purchase.
FunnelKit automatically handles the rest, making it easy to track conversions and optimize your TikTok ads.
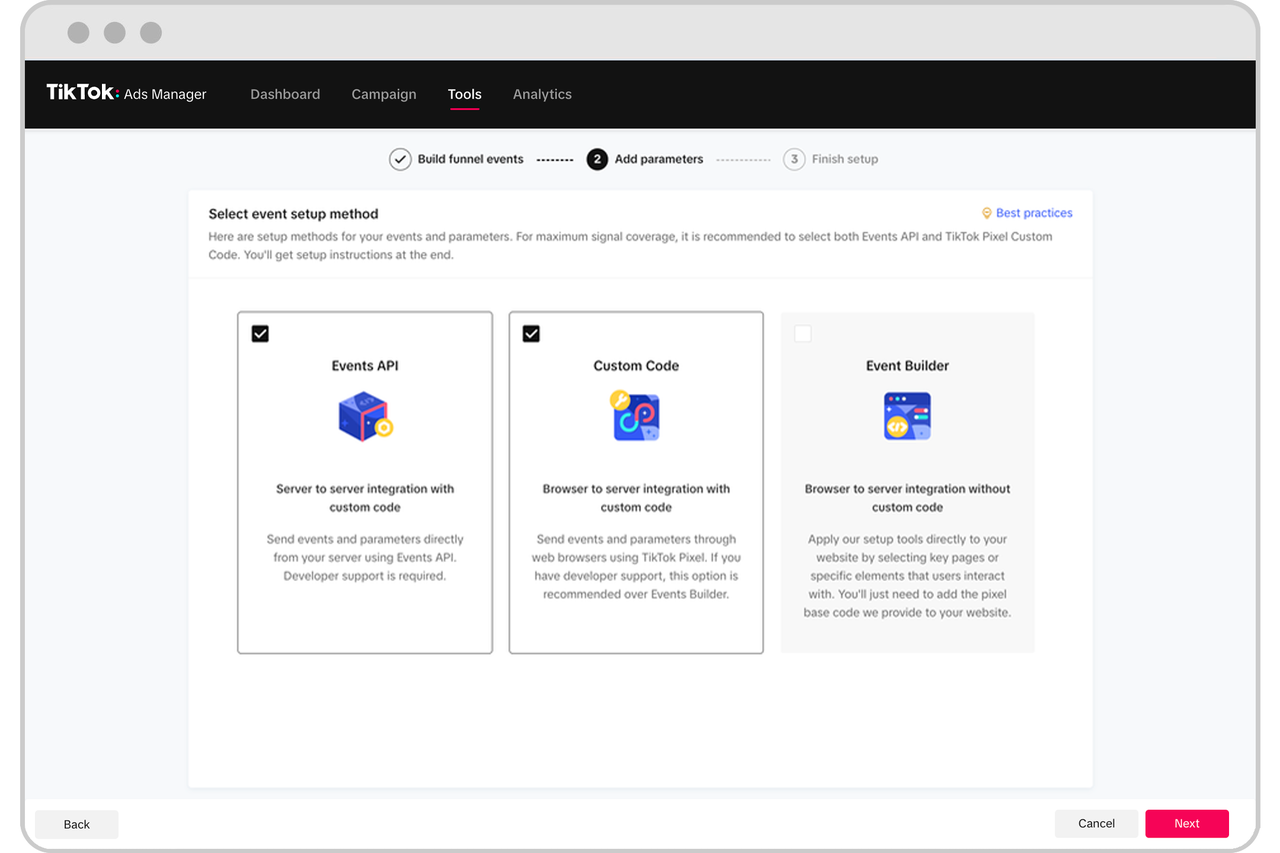
Option 3: Manual Installation

If you prefer a more hands-on approach, you can manually install the TikTok Pixel on your website. Here’s how:
- Get Your Pixel ID: Log in to your TikTok Business Manager account and create a new pixel.
- Copy the Pixel Code: Copy the JavaScript code provided by TikTok.
- Paste the Code: Insert the code into the header section of your website’s HTML.
- Test the Pixel: Use the TikTok Pixel Helper Chrome extension to verify that the pixel is working correctly.
This method requires some technical knowledge, but it gives you full control over your tracking setup.
Testing Your TikTok Pixel

After installing the TikTok Pixel, it's important to test it to ensure it's working properly. You can use the TikTok Pixel Helper extension to check if events like Page Views, Add to Cart, and Purchases are being tracked correctly.
- Install the Extension: Go to the Chrome Web Store and install the TikTok Pixel Helper.
- Navigate Your Site: Visit different pages on your website, add items to your cart, and complete a purchase.
- Check the Extension: Open the TikTok Pixel Helper and verify that the events are being recorded.
If everything is set up correctly, you’ll see real-time feedback about your pixel’s performance.
Tips for Optimizing Your TikTok Pixel
To get the most out of your TikTok Pixel, consider the following tips:
- Enable Advanced Matching: This helps improve ad targeting by capturing more user data.
- Use UTM Parameters: Track the source of your traffic and analyze campaign performance.
- Set Up Retargeting Campaigns: Target users who have interacted with your website but haven’t converted yet.
- A/B Test Your Ads: Experiment with different creatives and messaging to find what resonates with your audience.
By following these best practices, you can maximize the value of your TikTok Pixel and drive better results from your advertising efforts.
Conclusion
Installing the TikTok Pixel is a crucial step in measuring the success of your TikTok advertising campaigns. Whether you're using WordPress, WooCommerce, or another platform, there are multiple ways to set up the pixel and start tracking conversions. With the right tools and strategies, you can gain valuable insights into your ad performance and make data-driven decisions to grow your business.
By taking the time to install and configure the TikTok Pixel, you’re not only improving your marketing efforts but also positioning your business for long-term success on one of the fastest-growing social media platforms.
Posting Komentar untuk "How to Install the TikTok Pixel: A Complete Step-by-Step Guide"
Posting Komentar