
Dynamic Mic vs Condenser in Unchecked Rooms: Setting Equalizer and Expander Thresholds for Clean Podcasts
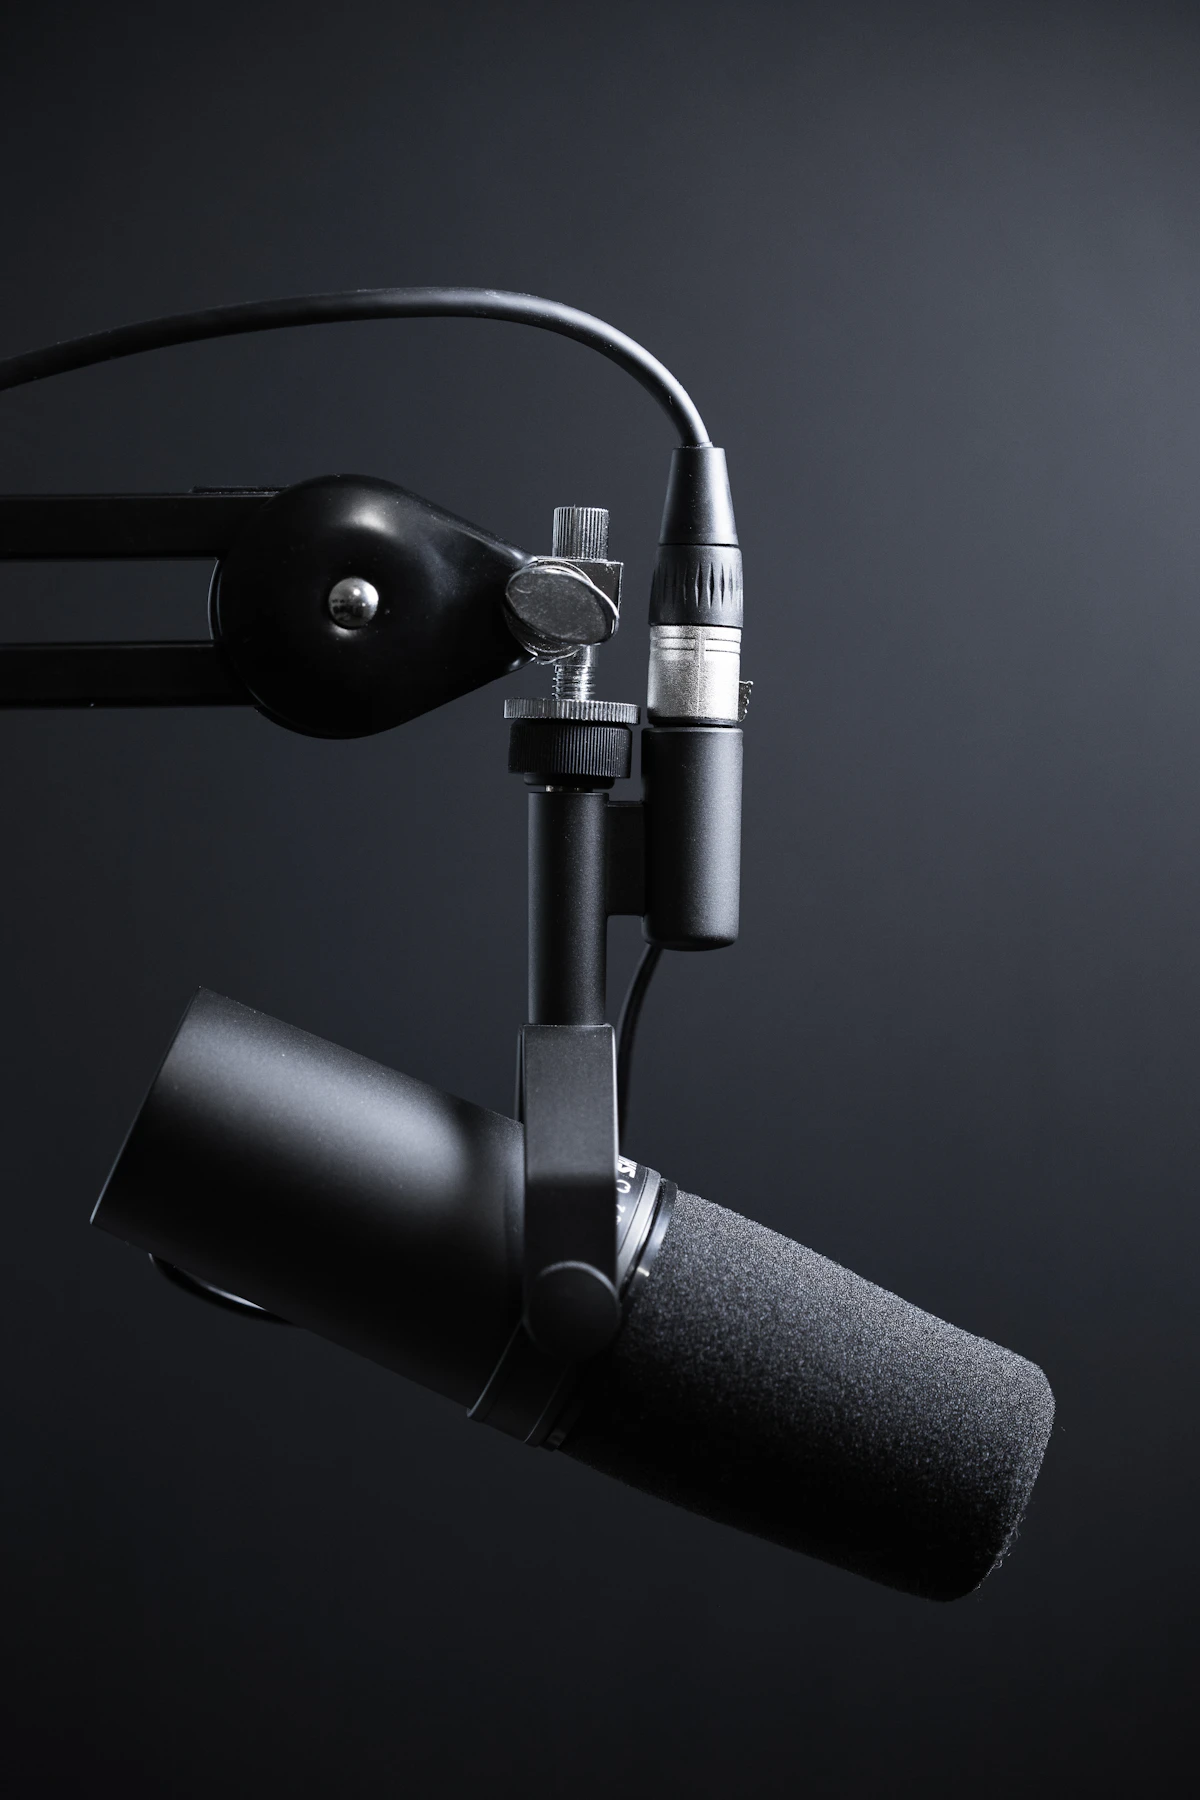
Stop Buying Shure SM7Bs to Fix Concrete-Wall Reflections
There is a stubborn myth across amateur podcasting: if your room sounds like an empty racquetball court, buy a dynamic microphone. You see creators drop three hundred to five hundred dollars on a Shure SM7B, a PodMic, or an Electro-Voice RE20, plug it into a budget interface, crank the preamp to +55 dB, and wonder why their voice still sounds hollow and distant.
Here is the mechanical reality: dynamic capsules do not reject room reflections because of some proprietary noise-canceling physics. A cardioid dynamic microphone and a cardioid condenser microphone placed in the exact same spot, matched for output level, will capture virtually identical ratios of direct voice to room echo. The difference lies in diaphragm mass and off-axis transient response.
A condenser mic uses a featherweight, gold-sputtered Mylar diaphragm—often under 3 microns thick. It tracks the rapid, 12-millisecond early reflections bouncing off your drywall and computer monitor with brutal accuracy. A moving-coil dynamic mic attaches a comparatively heavy copper voice coil to its diaphragm. That added physical mass resists rapid acceleration, smoothing out high-frequency transients and dampening the perceived flutter echo of an untreated room.
More importantly, dynamic mics have lower sensitivity, forcing you to move your mouth within two to four inches of the grille. That tight proximity increases the Signal-to-Noise Ratio (SNR) by sheer acoustic volume, not capsule magic. If you back off that dynamic mic by eight inches, your room echo returns with a vengeance.
The Physics: Inverse-Square Law vs. Room Decay
In a standard 12-by-14-foot bedroom or office with drywall, glass windows, and laminate flooring, the RT60 (the time it takes for sound to decay by 60 decibels) typically hovers between 550ms and 750ms. A professional broadcast studio targets under 200ms.
When you speak into a capsule from 12 inches away, the sound wave expands spherically. By doubling the distance from capsule to mouth, your voice drops by roughly 6 dB (the inverse-square law), but the ambient room reflections remain at a constant ambient pressure throughout the space. The result is a messy, smeared acoustic signal. Moving from 8 inches to 2 inches increases the direct signal hitting the diaphragm by roughly 12 dB relative to the room reverberation.
To eliminate the remaining room smear without spending thousands on Owens Corning 703 rigid fiberglass panels, you must correct the signal chain using a surgical equalizer and a downward expander rather than a blunt noise gate.
Step 1: Equalizer Pre-Filtering Before Dynamics Processing
Placing an expander or gate before your equalizer is a common routing failure. If your low-end mud and HVAC hum hit the dynamic detector circuit, the processor opens and closes erratically. Clean the signal at the door.
1. High-Pass Filter (The Scaffolding)
Set an 18 dB/octave high-pass filter (HPF) at 80 Hz for male voices, or 95 Hz for female voices. Sub-audible room rumble, desk thumps, and heating ducts carry heavy energy below 80 Hz that your ears barely register, but this energy holds audio gates open longer than necessary.
2. The Reflection Sweep (Targeting 300 Hz to 600 Hz)
Untreated domestic rooms ring violently in the lower-mid frequencies. Parallel walls create standing waves that cause boxy, hollow resonance:
- Insert a parametric EQ band with a narrow Q factor of 4.5.
- Boost the gain by +9 dB and slowly sweep the frequency band between 250 Hz and 600 Hz while speaking into the mic.
- Stop where the tone becomes nasal, ringing, or resembles speaking into a plastic bucket (commonly between 340 Hz and 430 Hz in residential spaces).
- Flip that +9 dB boost into a -3.5 dB to -5.0 dB cut. This immediately clears out the muddy room acoustic without thinning the vocal core.
3. Harsh Boundary Damping (2.5 kHz to 4.5 kHz)
If you use a condenser mic (such as an Audio-Technica AT2020 or Rode NT1), early reflections off unshielded glass computer displays generate razor-sharp comb filtering in the presence region. Apply a wide, gentle cut (Q = 1.0) of -1.5 dB centered at 3.2 kHz to soften slapback edge.
Step 2: Dialing Downward Expander Thresholds
Hard noise gates do not belong on human speech. A hard gate slams shut to absolute digital black (-inf dBFS) the second you stop talking, then violently snaps open the moment you utter a consonant. This creates distracting breathing cutoffs, clipped word attacks, and an unnatural "pumping" effect that reveals the room echo every time you open your mouth.
A downward expander is different: instead of muting the audio, it smoothly attenuates the signal below a selected threshold by a set ratio.
// Recommended Downward Expander Baseline Settings
Detector: RMS (not Peak)
Lookahead: 2.0 ms to 4.0 ms (if software allows)
Sidechain High-Pass: 120 Hz
Threshold: -38 dBFS (adjust based on speech peaks)
Ratio: 1:2.0 to 1:2.5 (never 1:10 or higher)
Range (Floor): -12 dB to -15 dB
Attack: 2.5 ms
Hold: 65 ms
Release: 160 ms to 220 ms
Mastering the Microphone Noise Gate Setup Room Echo Workflow
Setting up an expander to control room echo requires balancing threshold, range, and release times to handle subtle pauses without chopping speech tails:
Set the Target Threshold: Speak normally and check your input metering. Your conversational vocal peaks should sit steadily between -16 dBFS and -12 dBFS. Stop talking and measure the ambient floor of your room (the sound of PC fans, street noise, and wall reflections decaying). If your room floor sits at -50 dBFS, set your expander threshold to -38 dBFS. This creates a safe 12 dB buffer above the ambient floor while remaining well below your quietest spoken syllables.
Constrain the Range: Never allow the expander to attenuate to infinity. Set the range limit to -12 dB or -14 dB. When you stop talking, the background room reflection drops by 12 decibels—making it inaudible behind your voice—without causing the eerie vacuum of complete silence.
Set Hold and Release Times: Consonants at the ends of words (such as 't', 'k', and 's') carry minimal acoustic energy and quickly drop below the threshold. If your release is too fast, the gate chews the ends off your words. A Hold time of 65ms guarantees the expander stays fully open through micro-pauses within phrases, while a Release of 180ms decays smoothly back to the -12 dB floor without obvious dynamic pumping.
The Trade-Offs and Hardware Pitfalls
Software plugins and internal interface DSP introduce trade-offs you must actively monitor:
Every dynamic processor reacts to input level changes. If you set your expander thresholds on Monday, then twist your hardware interface gain knob by +4 dB on Tuesday, your expander calibration is entirely broken.
- Internal DSP Gates are Rudimentary: Hardware interfaces marketed to streamers often include internal DSP suites. Many of these onboard gates feature fixed, aggressive ratios (frequently hard-locked at 1:8 or higher) without adjustable hold times. Turn these off and handle your dynamics inside an OBS filter stack, Reaper, or your DAW using full-featured VST plugins like ReaGate, FabFilter Pro-G, or Tokyo Dawn Labs Kotelnikov.
- Proximity Effect Choke: Keeping your mouth close to a cardioid dynamic microphone triggers a steep low-frequency boost known as the proximity effect. That sudden boominess at 100 Hz to 200 Hz can trigger downward compressors downstream, causing the compressor to clamp down on speech and pull up the room noise floor during release cycles. If you eat the mic, back down the 150 Hz band on your pre-EQ by 2 dB.
- Phase Smear from Linear Phase EQ Plugins: Avoid high-latency linear phase equalizers in real-time monitoring chains. They introduce noticeable pre-ringing on vocal plosives and add significant latency (often exceeding 50ms), making real-time podcast monitoring disorienting. Stick strictly to zero-latency, minimum-phase digital parametric EQs.
The Calibration Checklist
Run through this operational sequence before tracking your next session:
- Adjust your interface preamp gain until conversational speech peaks reliably at -14 dBFS. Keep your mouth 2 to 4 inches from the dynamic mic grille or 5 to 7 inches from the condenser capsule (fitted with a pop filter).
- Identify room noise: Sit in silence for 5 seconds and note the RMS floor level in your software meter.
- Engage an 18 dB/octave high-pass filter at 80 Hz to clear sub-audible mechanical rumble.
- Sweep and cut the dominant boxy mid-frequency resonance (typically between 320 Hz and 450 Hz) by 3 dB to 5 dB.
- Engage your downward expander with a gentle 1:2 ratio and set the reduction range to -12 dB.
- Position the threshold roughly 10 dB above the measured silent room noise floor.
- Read a passage containing clipped, hard consonants: "The exact pack of thick plastic." Listen for trailing syllable cutoffs. If the word endings vanish, increase your hold time by 20ms and push release time beyond 180ms until consonants decay naturally.
Posting Komentar untuk "Dynamic Mic vs Condenser in Unchecked Rooms: Setting Equalizer and Expander Thresholds for Clean Podcasts"
Posting Komentar